


How to Launch a Last Minute Event Social Wall
Published on September 14, 2026
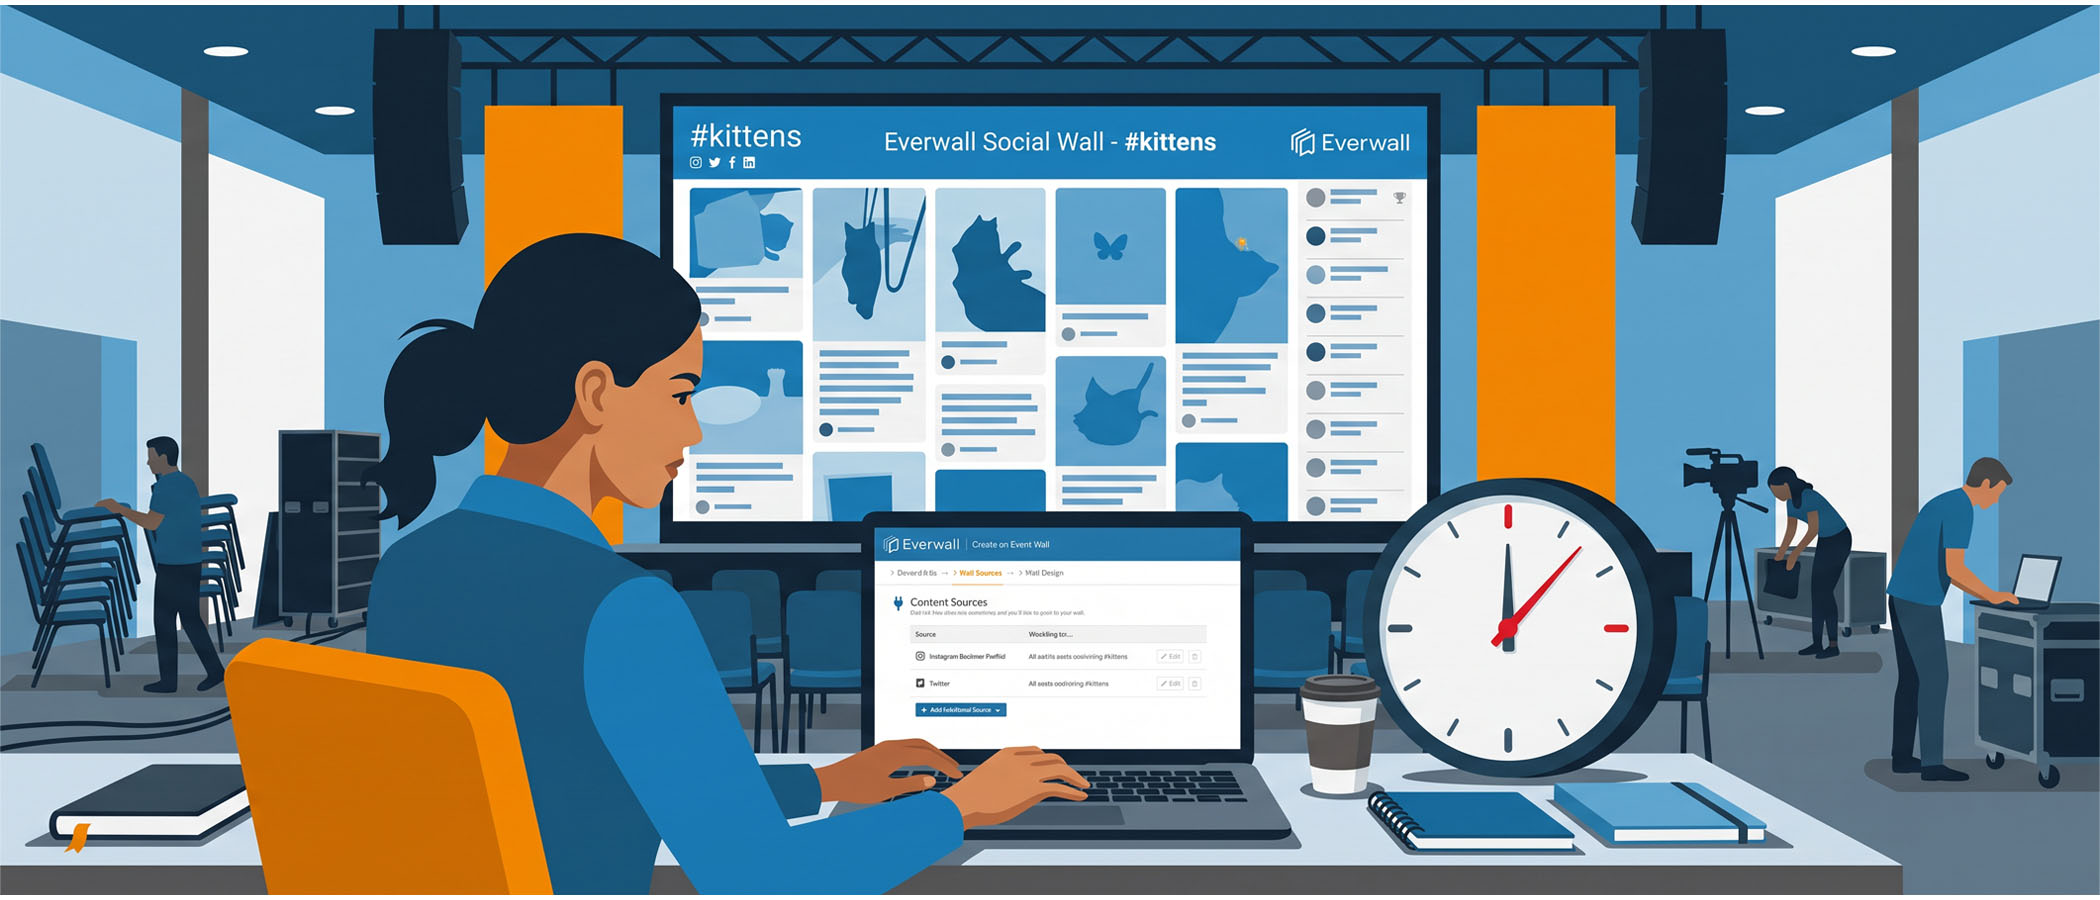
Your event is two days away, and someone just asked why there is no social wall in the main hall. Maybe a sponsor requested one. Maybe you saw a competitor’s wall and realized attendees would love it. Either way, the clock is running, and you are wondering if there is even enough time to pull it off.
There is, and with plenty to spare. A last minute event social wall is one of the most realistic add-ons you can pull together on a short runway. Most teams have a polished self-service wall built and running in a few hours at most, and the fastest go from signup to live in about ten minutes. You do not need a printer, a shipping deadline, or weeks of promotion. You need an account, a screen, and an afternoon.
This guide walks you through a quick social wall setup step by step, with rough timing for each part. If you want the full, no-rush version later, we have a complete step by step setup guide you can bookmark. For now, let’s focus on getting live today.
Why Short Timelines Are More Common Than You Think
If you feel behind, you are in good company. Event teams often lock in the big pieces first, like the venue, the speakers, and the catering, then start adding engagement extras much closer to the date. Deciding on a social wall with a few days left is normal, not a mistake.
That is exactly why self-service tools exist. A quick social wall setup does not require a sales call, a custom quote, or a long onboarding process. You sign up, build it yourself, and go live. Everwall’s Event Social Wall was designed with this kind of timeline in mind, so a short runway is not a reason to skip the wall. It is the reason self-service is there in the first place.
Pay for Event Days, Test Right Away
Two things make a tight timeline easier before you even start building.
First, you only pay for the days your event actually runs, and you enter those dates in the first step of the builder. If your event is within 72 hours, your wall goes live the moment you purchase, so you can test on the real screen right away instead of waiting for day one of the event.
Second, if you would rather try it before you commit, you can start a free trial whenever you are ready to test. Either way, nothing about the timeline forces you to wait.
The Setup, Step by Step
Here is how the work breaks down. The timing is approximate, and most teams finish in a couple of hours with room to spare.
Step 1: Create Your Account and Start the Wall (about 5 minutes)
Sign up and create a new event. You will name your wall, set your event dates, and pick your event’s time zone. Do not overthink the name; you can adjust settings later.
Step 2: Choose Your Content Sources (10 to 20 minutes)
This is the step that makes or breaks a last minute wall. Everwall supports 15 different content sources, and the most popular ones for events are:
- X (Twitter) for live commentary
- Instagram for photos from the crowd
- LinkedIn for professional and corporate events
- Bluesky for audiences who have moved there
- Facebook for community-driven events
- Everwall Direct (Web Form) so people can post without any social account
- SMS so attendees can text in a photo or message
Add the sources that fit your audience. If your event has a hashtag, connect it. If it does not, do not panic. The next step solves that problem.
Step 3: Turn On Direct Posting and Show the QR Code (about 10 minutes)
Here is the piece that saves a short-runway event. When you had no time to promote a hashtag, you can still get participation through Everwall Direct. This lets attendees scan a QR code, open a simple web form, and post a message or photo straight to your wall. No app, no account, no hashtag required.
The simplest way to share that QR code is to show it on the wall itself. Everwall can display the code right on the screen alongside the posts, so attendees see the wall, scan the code, and post within seconds. Most events stop there, and it works well.
If you have the time and want to go further, you can also print the QR code on a slide, a table tent, or a sign near the screen. That is a nice extra, not a requirement. Either way, your wall fills with real content even if nobody ever knew a hashtag existed. For a deeper look at how this works, see our guide on getting attendees to post without social media.
Step 4: Pick a Layout and Add Your Branding (20 to 45 minutes)
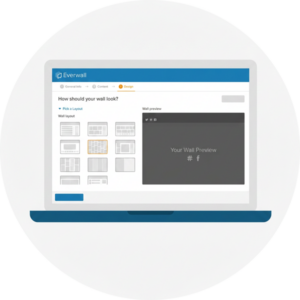 Everwall’s self-service option includes 12 layouts, so you are choosing from ready-made designs rather than starting from scratch. Pick one that matches your screen shape and how much content you expect. Then add your logo, adjust the colors to match your event, and drop in a background if you have one.
Keep the design simple on a tight timeline. A clean layout with your logo and event colors looks polished and takes very little time to set up. Save the elaborate custom design for events where you have more runway.
At this point you have a live wall pulling in real posts, a QR code on the screen, and a design that looks like it belongs at your event. The last two steps are the ones you cannot afford to skip.
Step 5: Set Up Your Moderation Plan (about 15 minutes)
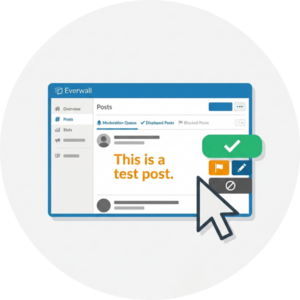
Never skip moderation. This is the one step that protects your brand, your sponsors, and your attendees from anything you would not want on a giant screen in front of a crowd.
Everwall lets you moderate posts before they appear, which means you approve content instead of hoping it behaves. On a busy wall, decide who is watching the queue and when. For a smaller event, one person checking in periodically may be enough. For a large one, assign someone to keep an eye on the queue during peak hours.
A few quick moderation decisions to make now:
- Approval mode. Choose whether posts appear automatically or after review. For most events, review-first is the safer call.
- Blocked words. Add any terms you never want shown.
- Blocked users. Have a plan to remove a repeat troublemaker fast.
- Who is on duty. Name the person responsible during the event.
If you want extra help here, our article on social wall moderation best practices covers the details. Moderation is not the place to cut corners, even when you are short on time.
Step 6: Run a Screen Test (15 to 30 minutes)
A wall that looks great on your laptop still needs to show up on the venue screen. Because your wall is already live, you can do this on the real display as soon as you have access to the room.
A hardwired HDMI connection is nice if it is already there, but plenty of events run the wall over Wi-Fi without any trouble. The one thing to get right is which network you use. Put the device running the wall on back-office or event staff Wi-Fi, not the attendee network. Attendee Wi-Fi is the connection that gets overloaded and drops when the room fills up, and you do not want your wall riding on it.
Walk through this checklist during your test:
- Load the wall on the device that will run it at the event
- Connect that device to the actual screen
- Confirm the device is on staff or back-office Wi-Fi, not the attendee network
- Check that the layout fills the screen without cutting off content
- Scan the QR code on the wall, post a test message, and confirm it lands in the queue
- Approve that test post and watch it appear on screen
If everything shows up correctly and your test post moves from the queue to the screen, you are ready.
What to Skip and What to Never Skip
 When time is tight, knowing what to leave out matters as much as knowing what to do. Here is a clear breakdown.
Safe to skip on a short runway:
- A fully custom design. A clean template with your logo works fine.
- A long hashtag promotion campaign. The QR code covers participation.
- Printed QR codes. The code on the wall itself does the job. Print extras only if you have the time.
- A hardwired display connection. Wi-Fi works for most events, as long as it is the staff network and not the attendee one.
- Advanced add-ons and integrations you have never used before.
- Perfect wording on every setting. You can adjust as you go.
Never skip, no matter how little time you have:
- Moderation. One bad post on a big screen is worse than no wall at all.
- A screen test on the real display, on the network you will actually use on the day.
- A single test post that travels from QR code to queue to screen.
Cutting the first list saves you time. Cutting the second list is how a wall goes wrong in front of a crowd. Keep that line clear and your quick social wall setup will hold up on event day.
When You Want a Safety Net
Self-service is built for speed, and most teams get through the setup without help. Still, a tight timeline can feel stressful when the wall is a visible part of your event and you are handling a dozen other things.
If you want backup, Everwall offers Premium Support as an add-on. You still build the wall yourself and keep full control, but you get a real person to lean on if something feels off during setup or on the day itself. Think of it as insurance for a compressed schedule, not a handoff of the whole project.
For events with more lead time and a bigger budget, Full Service exists too, where our team designs and builds the wall for you. On a short timeline, though, self-service with Premium Support is usually the right mix of speed and support.
Bringing Remote Viewers In, Too
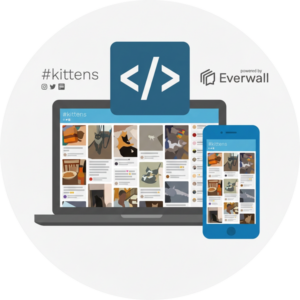 One more thing worth setting up while you are in the account: every Everwall event wall includes the ability to embed it on your website or in your event app at no extra cost, using our Social Wall for Websites technology.
This takes only a few minutes. Grab the embed code and drop it onto your event page or into your app. Now people who could not make it in person, or who are between sessions, can watch the same live wall from their phones. On a short timeline this is a low-effort way to stretch your wall’s reach beyond the room without any extra design work.
A Few Hours Is Enough
A social wall is one of the few event upgrades you can genuinely pull off the same day you decide you want one. Build the wall, connect your sources, put the QR code on the screen, set up moderation, and test it on the real display. Skip the fancy extras, protect the things that matter, and you will be live with time to spare.
A short runway is not a reason to leave the screen blank. It is exactly the situation self-service was made for.
Ready to get your wall live before doors open? Everwall’s Event Social Wall is built for exactly this kind of timeline. Sign up, build it yourself in an afternoon, and add Premium Support if you want a safety net on a tight schedule. Get started today and have your wall ready in time for your event.
Pretty good, right? Share this with your people.


