How to Create a Social Wall for a Website (Social Media Hub)
")
Overview
To get started with building a social wall for your website (we call them Social Media Hubs or Website Embeds interchangeably), you’ll first need to register for an Everwall account. If you already have an account, simply sign in—there’s no need to create a new account since you can manage multiple social walls within a single Everwall account.
Social Media Hubs are specifically designed to be embedded on websites only and are not designed for display on event screens or standalone. If you want to display it on screens at an event, you’ll want to create an Event Social Wall, and then after you’ve created that you can create a Website Embed Code to embed your social wall on a website.
You can create multiple designs to customize how the hub looks in different areas of your site.
How to Create a Social Wall for a Website
Step 1: Once you are logged in, click the Create Wall button if you don’t have any social walls yet, or the New Wall button in the header.

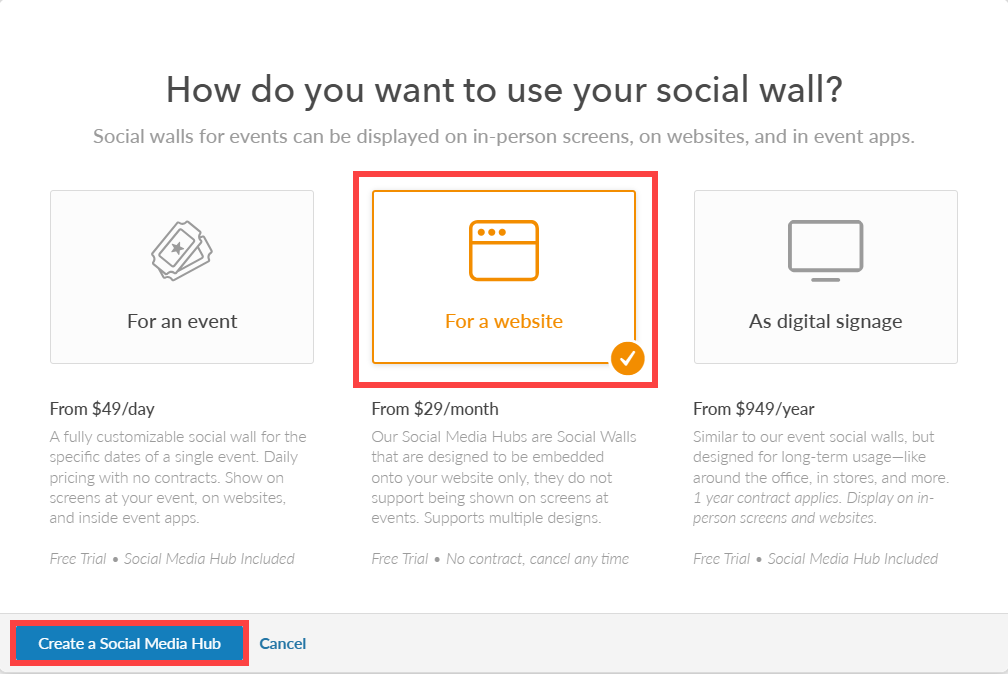
Step 2: Select where you want to show your social wall from the options:
After choosing your option, click Create an (selected option) Social Wall button.
Note: For this tutorial, I am selecting the “For a website” option because we don’t need to show it anywhere else other than a website. The remaining steps will be based on that selection.
Step 3: After choosing the type of social wall, you will be redirected to the General Information page where you can set your Social Media Hub details such as:
- Social Media Hub Name
- Timezone
- Annual Payment
When all details are complete, click Next Step to proceed to content sources page.

Step 4: You will be redirected to the Content page where you can add content source onto your wall. The following are the content sources you can add:
- X, formerly known as Twitter
- Bluesky
- Tiktok
- SMS/MMS
- Everwall Direct (Web Form)
- RSS
- Slack
- Discourse
- Webex
- Everwall Connect
Note: To view what we support for each of these content sources please go here.

Step 5: After choosing the content source, you will be redirected to the design page where you can choose and customize the layouts, hub designs, background and configure embed settings. We have another tutorial that goes in depth on how to customize your website hub design.
When you’ve finished designing your wall, you can click the Save & Checkout button if you want to purchase it now, or click Save for Later if you are not yet ready to purchase the wall.

Step 6: Whether you checked out now, or saved it for later, you can get the Embed code next for your website by clicking on the Get Embed Code button.

Step 7: After you have clicked the button to copy the code, you can easily paste it into your website’s code or send it to the person who will be adding it and then continue to make design changes. The changes will automatically reflect on your website without the need for updating the code on your website.
That code that is created should work with any website. If your website is a WordPress based website and you are using the Classic Editor, you’ll want to make sure you switch the text field from Visual to Text (the tab is at the top right of the text editor usually) before pasting it in. If you are using the newer Gutenberg editor, you’ll want to add a HTML Code block or Embed Code block, and then paste in the code into that.

Still have questions? Get in touch.