How to Create an Ongoing Social Wall for Digital Signage
Overview
To create a social wall for Digital Signage, you need to register for an Everwall account and subsequently sign in to your account. You can have multiple social walls in your account, so if you already have an account you do not need to register for another one.
Additionally, creating a wall does not mean you have to purchase it at that time, you can create it now, and then save it for later.
How to Create an Ongoing Social Wall for Digital Signage
Step 1: Once you are logged in, click the Create Wall button if you don’t have any social walls, or the New Wall button in the header.

Step 2: Select on Digital Signage from the options then click the Create a Social Wall for Digital Signage button.
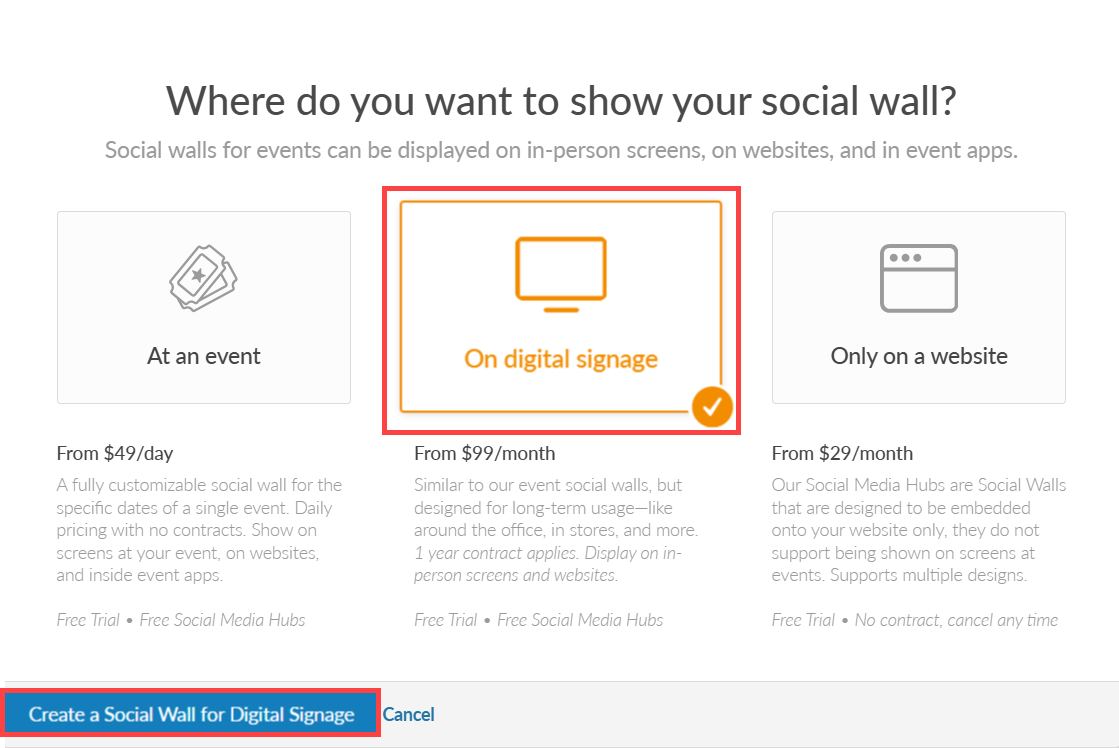
Step 3: After choosing the type of social wall, you will be redirected to the General Information page where you can set your social wall details such as:
- Social Wall Name: This can optionally be shown on the social wall itself, but most people do not show it. This is how you’ll know which social wall is which within your account, so you should name it something that you’ll know is this social wall.
- Digital Signage Checkbox: If you want to convert this into a social wall instead of Digital Signage, you can uncheck this option and then enter your event dates. If this is checked, it will be considered ongoing until you cancel it.
- Timezone: The timezone is used so we know when to roll over stats each day (which we do at midnight based on the timezone).
- Vanity Address: This web address is used to make it easy to display your Social Wall. You only need to type in the address you enter here and the social wall can be pulled up. No password is required (unless you want that).
- Annual Billing Period: You can opt to pay monthly or annually. If you leave it checked to pay annually, you’ll get an additional 20% discount.
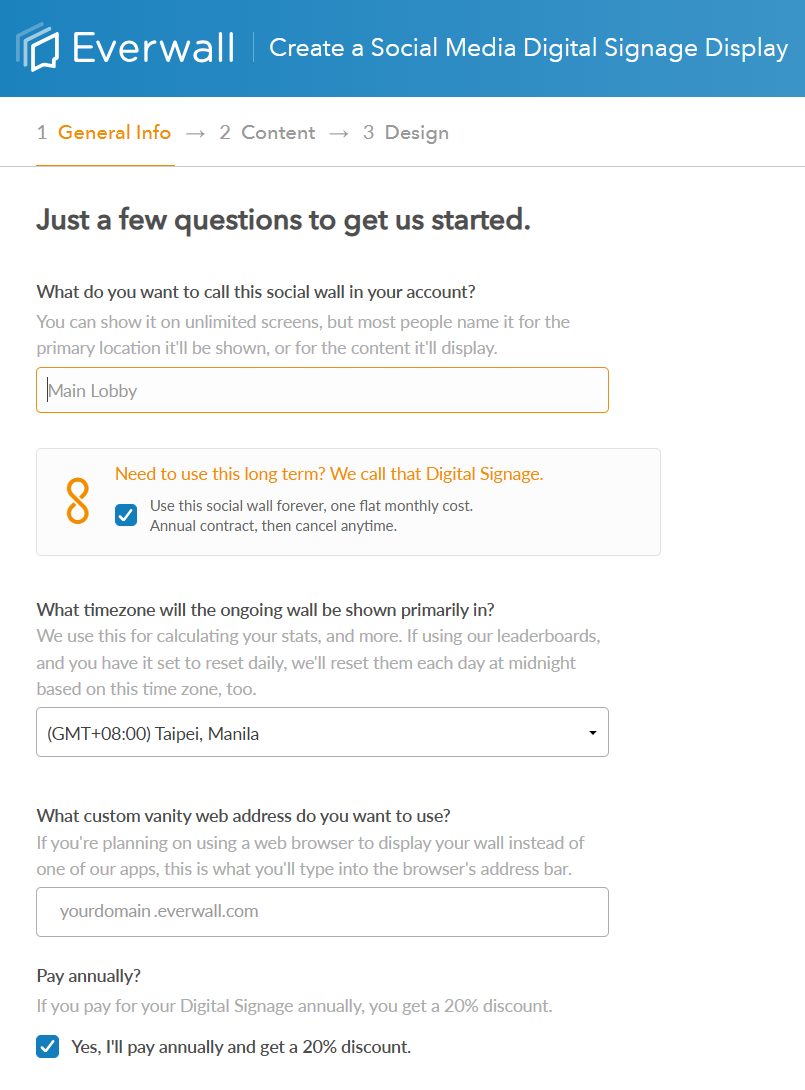
Step 4: After filling all the details, click the Next Step button.
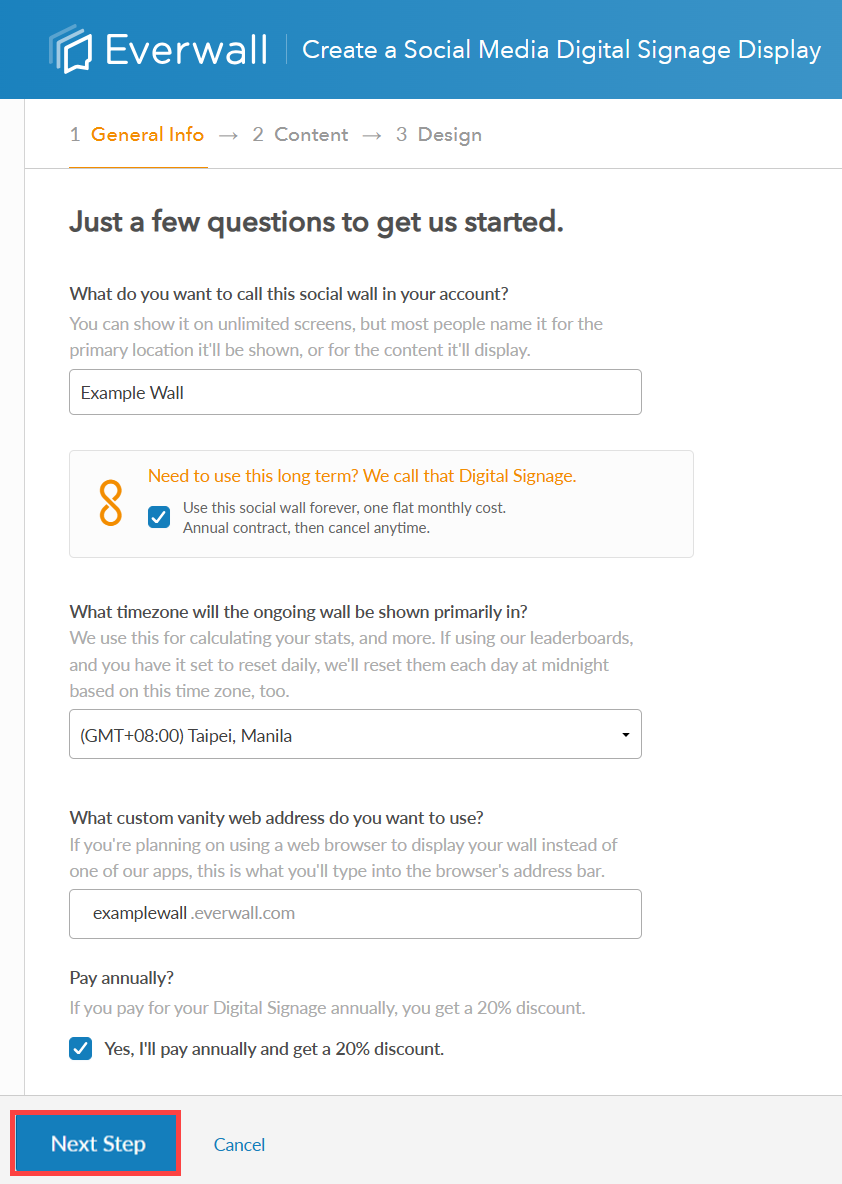
Step 5: You will be redirected to the Content page where you can add content source onto your wall. The following are the content sources you can add:
- X, formerly known as Twitter
- TikTok
- SMS/MMS
- Everwall Direct (Web Form)
- RSS
- Slack
- Discourse
- Webex
- Everwall Connect
Just click on the content sources that you want to add and it should walk you through the process. You can add as many content sources you need.
Note: To view what we support for each of these content sources please go here.
After adding the content sources, click the Next Step button to proceed in the Design page.
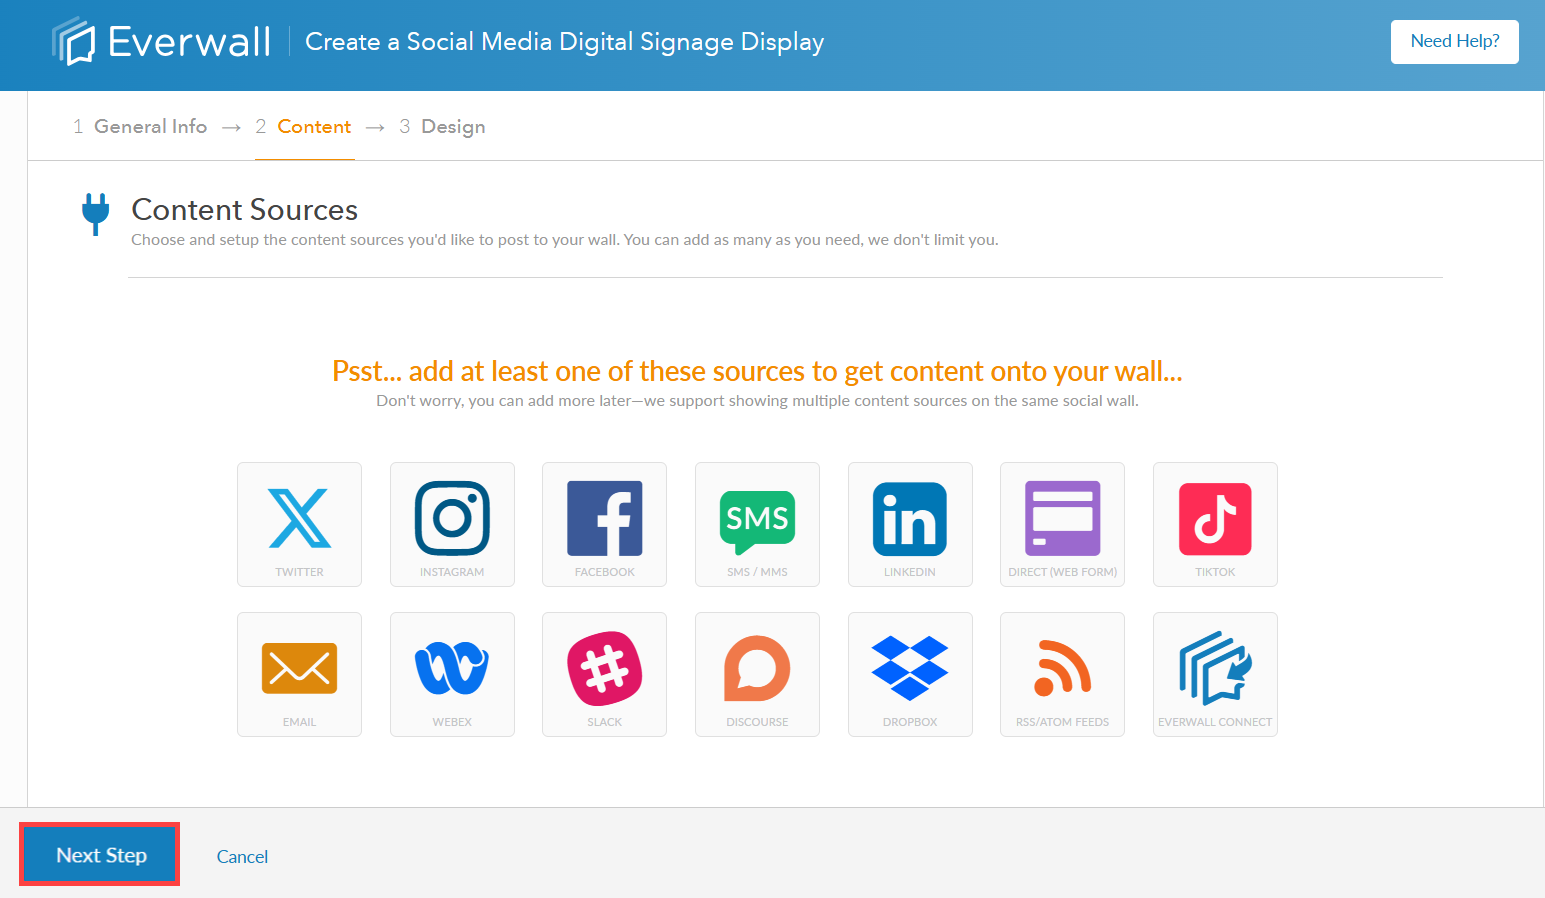
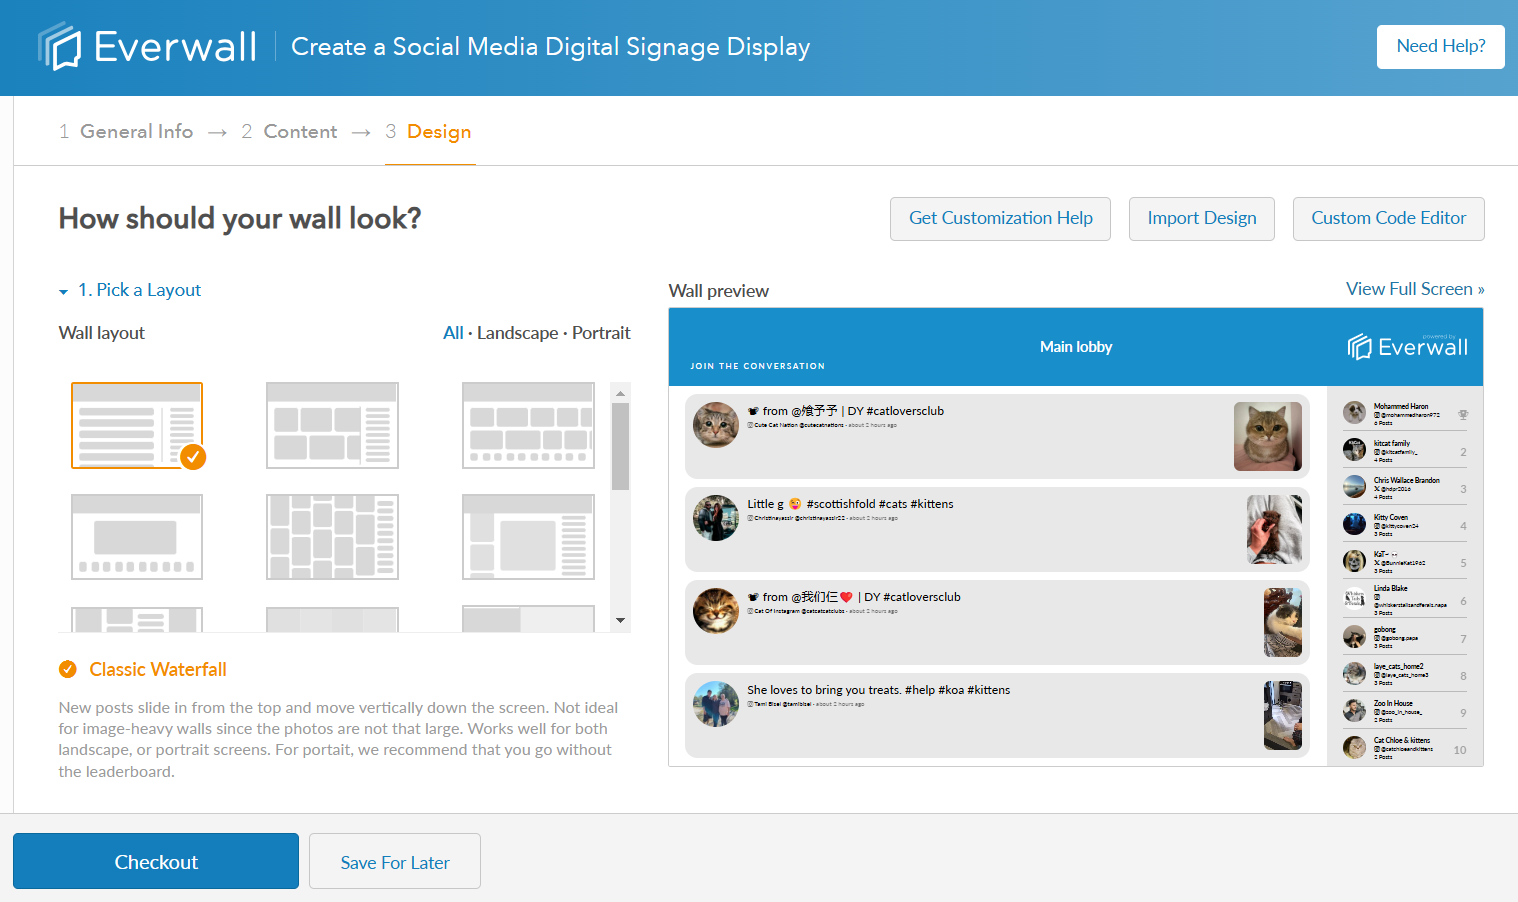
Step 6: After choosing the content source, you will be redirected to the design page where you can choose your layout and customize it. You can also customize the background, post appearance and configure the leaderboards and more.
When you’ve finished designing your wall, you can click the Checkout button if you want to purchase it now, or click Save for Later if you are not yet ready to purchase the wall.
Still have questions? Get in touch.