How to Moderate your Social Wall
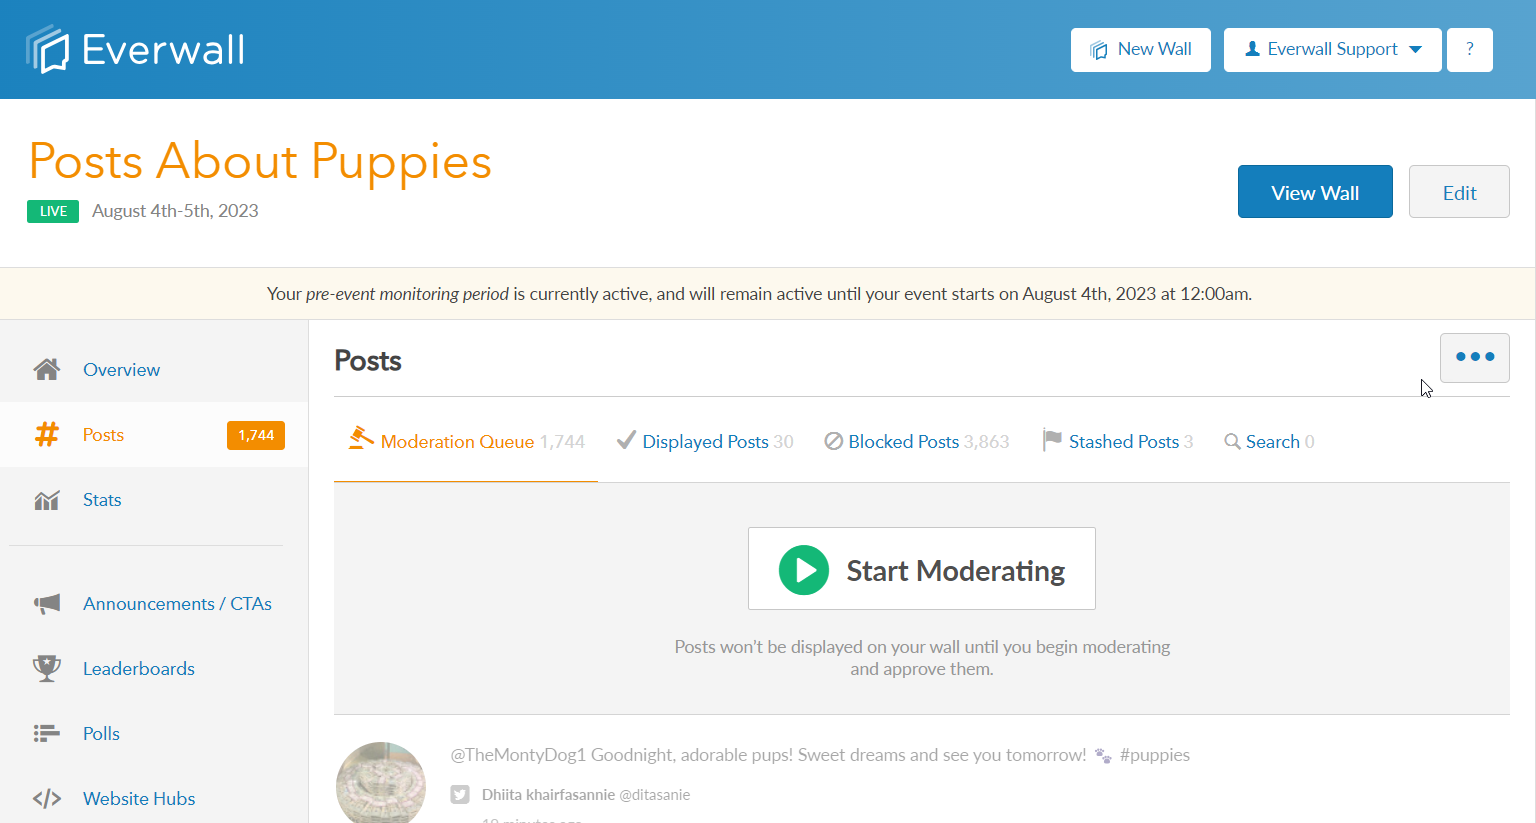
Moderation Queue Overview
When Full Moderation is enabled, posts will be checked against the filters you’ve configured before being placed in the Moderation Queue. They will remain in this queue until a human reviews them and decides whether to move them to the Displayed, Blocked, or Stashed queues.
This tutorial will show you how to moderate your social wall posts.
Important Note: When moderating, posts in the moderation queue are assigned to you—other users will not be able to access them because they’re in your personal queue. If you are done moderating, be sure to release them. Additionally, if you share your Everwall login with other users they will see the exact same posts, so you should create separate logins for each user. There’s no costs or downsides to other people logging in with their own login.
How to Moderate Posts
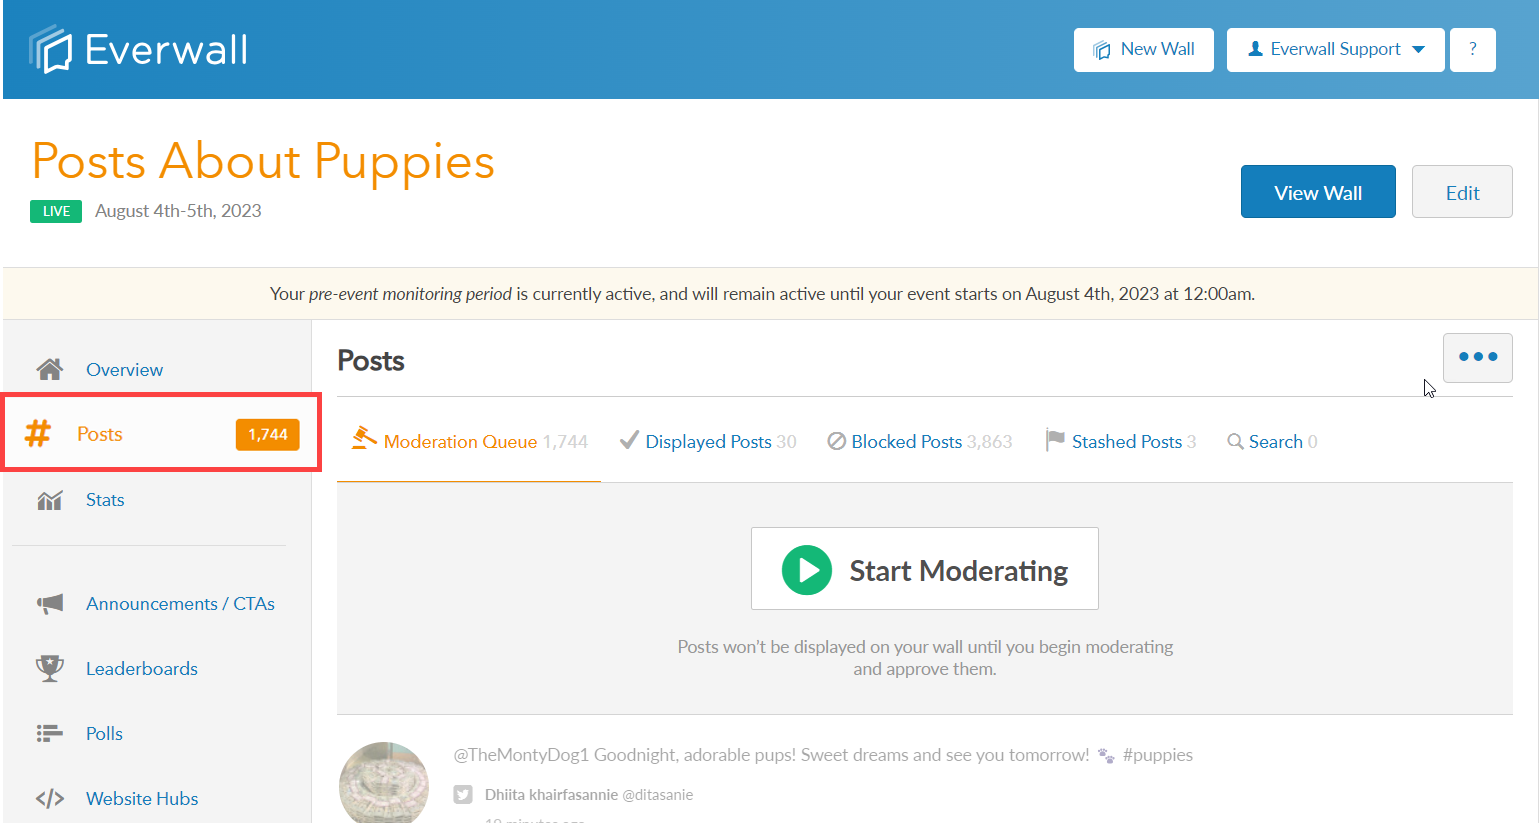
Step 1: To access the post in the Moderation Queue, click on the Posts link in the left menu to go to the Displayed Queue page.
Tip: If you click the number in the orange box you’ll be taken straight to the Moderation Queue instead of the Displayed Queue.
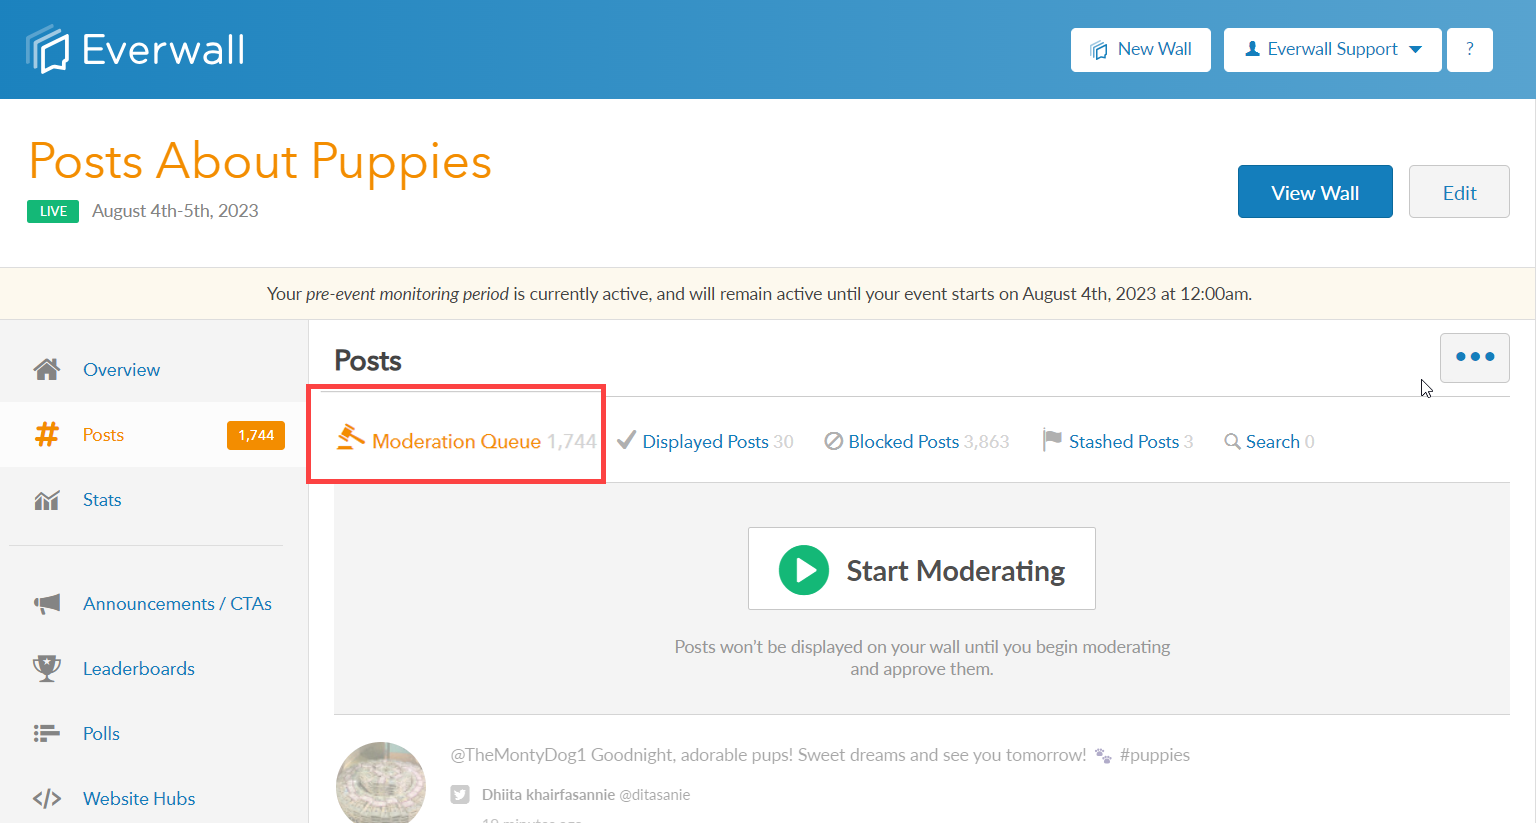
Step 2: You will be redirected to the Displayed Queue, and at the top of the page you can see the different queues. Click the Moderation Queue tab to access the posts under that queue. If you only see the Displayed Posts and Blocked Posts tabs, then your social wall does not have moderation enabled, and you’ll need to enable it first.
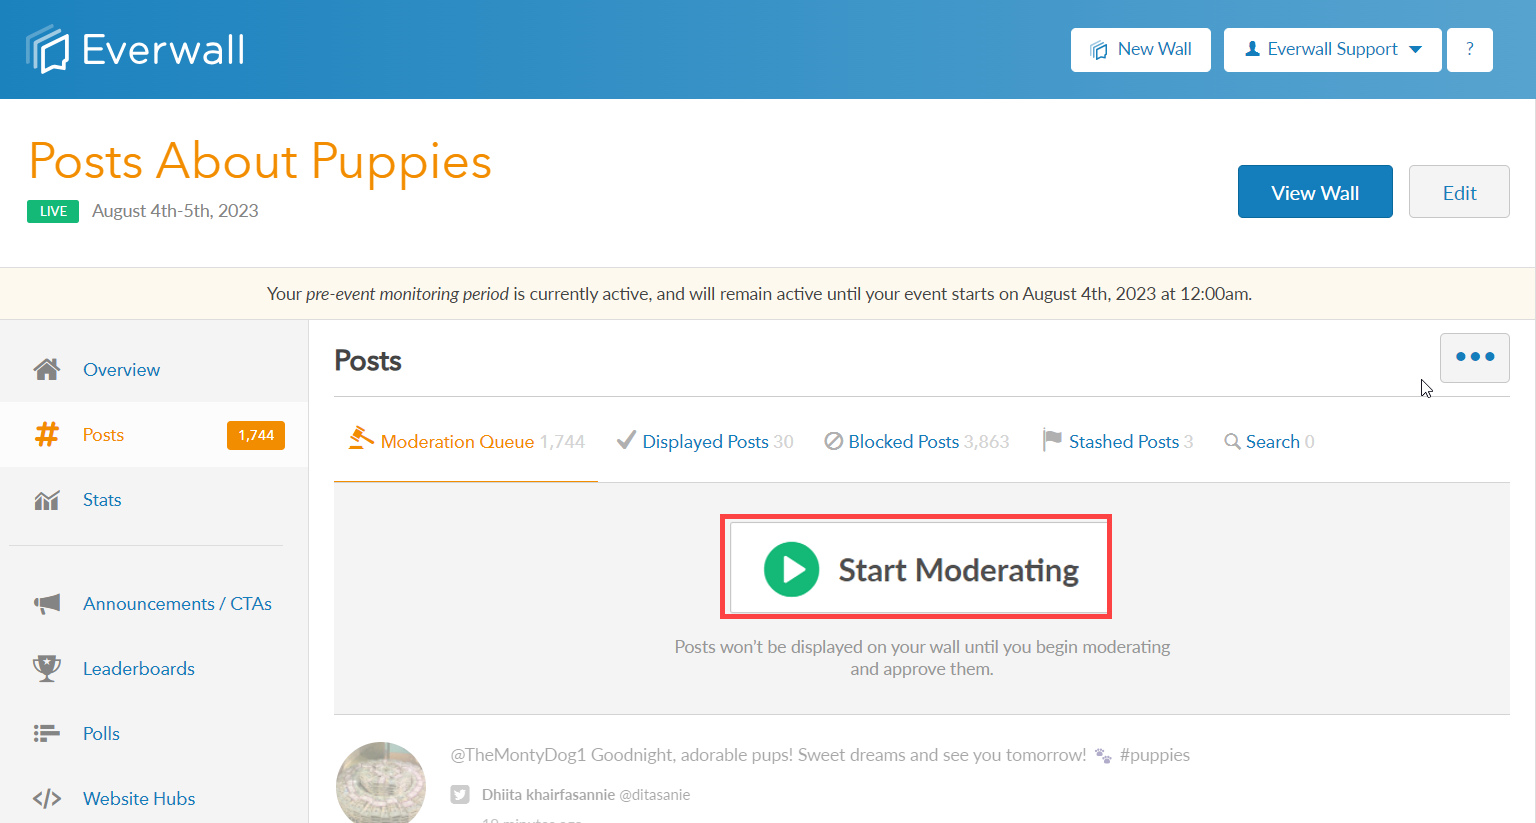
NOTE: If moderation is enabled, posts won’t be displayed on your wall until you begin moderating and approve them.
Step 3: Click the big Start Moderating button to display posts and start moderating and approving them.
Step 4: Once you Start moderating the system will assign you up to 20 posts, which, by default, will be the oldest posts in the Moderation Queue.
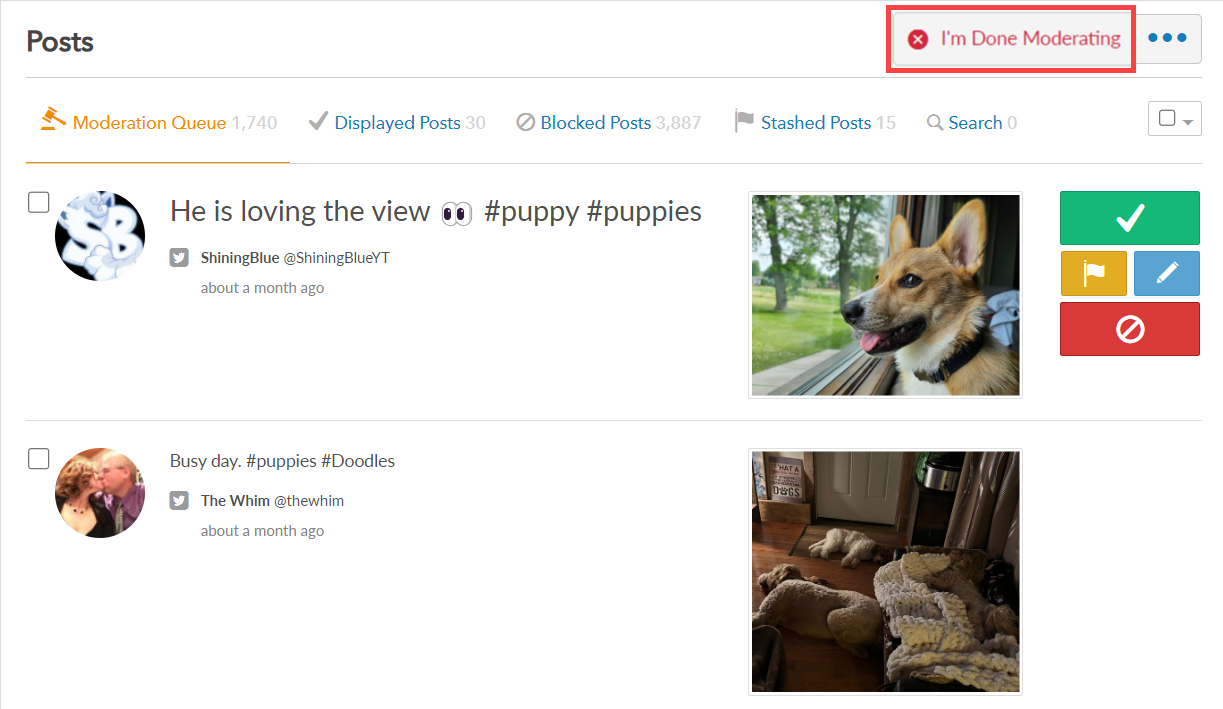
While these posts are assigned to you other people in your Everwall account will not be able to access them. Be sure to click the I’m Done Moderating button when you’re done to release them.
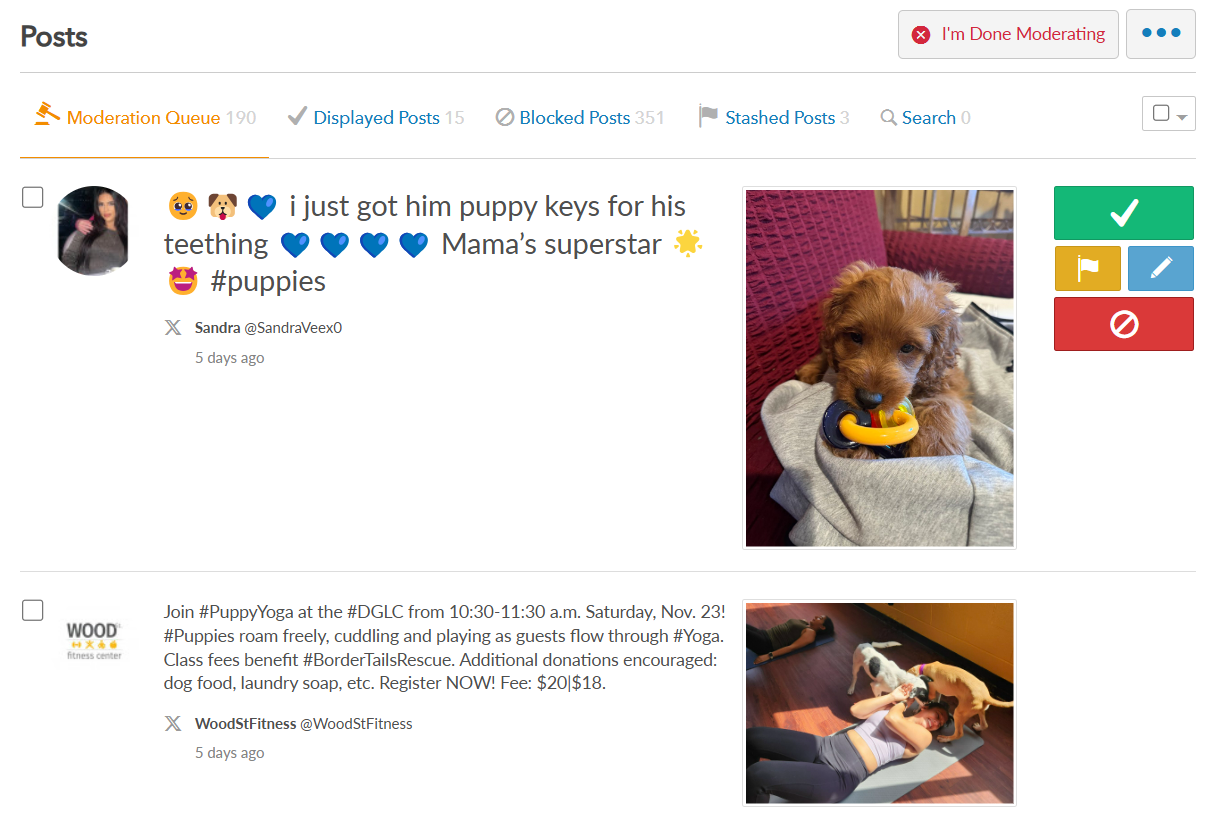
Step 5: To moderate posts, you can choose from the options on the right side of the post. The top post is always selected so that you can use keyboard shortcuts. You can also hover over any post that’s been assigned to you and see the buttons to click on the right side if you want to moderate posts out of order.
- To display a post, click the approve button (green with check mark).

- To block posts, click the block button (red with blocked symbol).

- To stash it, click the Stash button (yellow with flag icon).

- If you need to edit the post for any reason, or make the images screen reader compliant, click the Edit Post button (blue with pencil icon). You can also view the how to edit the post tutorial to view the step by step instructions.

Step 6: When you’re done moderating, click the I’m Done Moderating button to release them to be moderated by other users in your account.
Note: Any posts assigned to you will be released to other moderators if they remain in your personal moderation queue for longer than 20 minutes.
Still have questions? Get in touch.