How to Use the Custom Leaderboard Type
With Custom Leaderboards, you have complete control over how users are ranked. You can manually input names, usernames, and corresponding values to determine the rankings. This leaderboard option is particularly useful for events and contests conducted independently of Everwall, as it allows you to display real-time rankings on your social walls to keep your audience informed. They can also be embedded onto your website if you want that.
How To Use A Custom Leaderboard
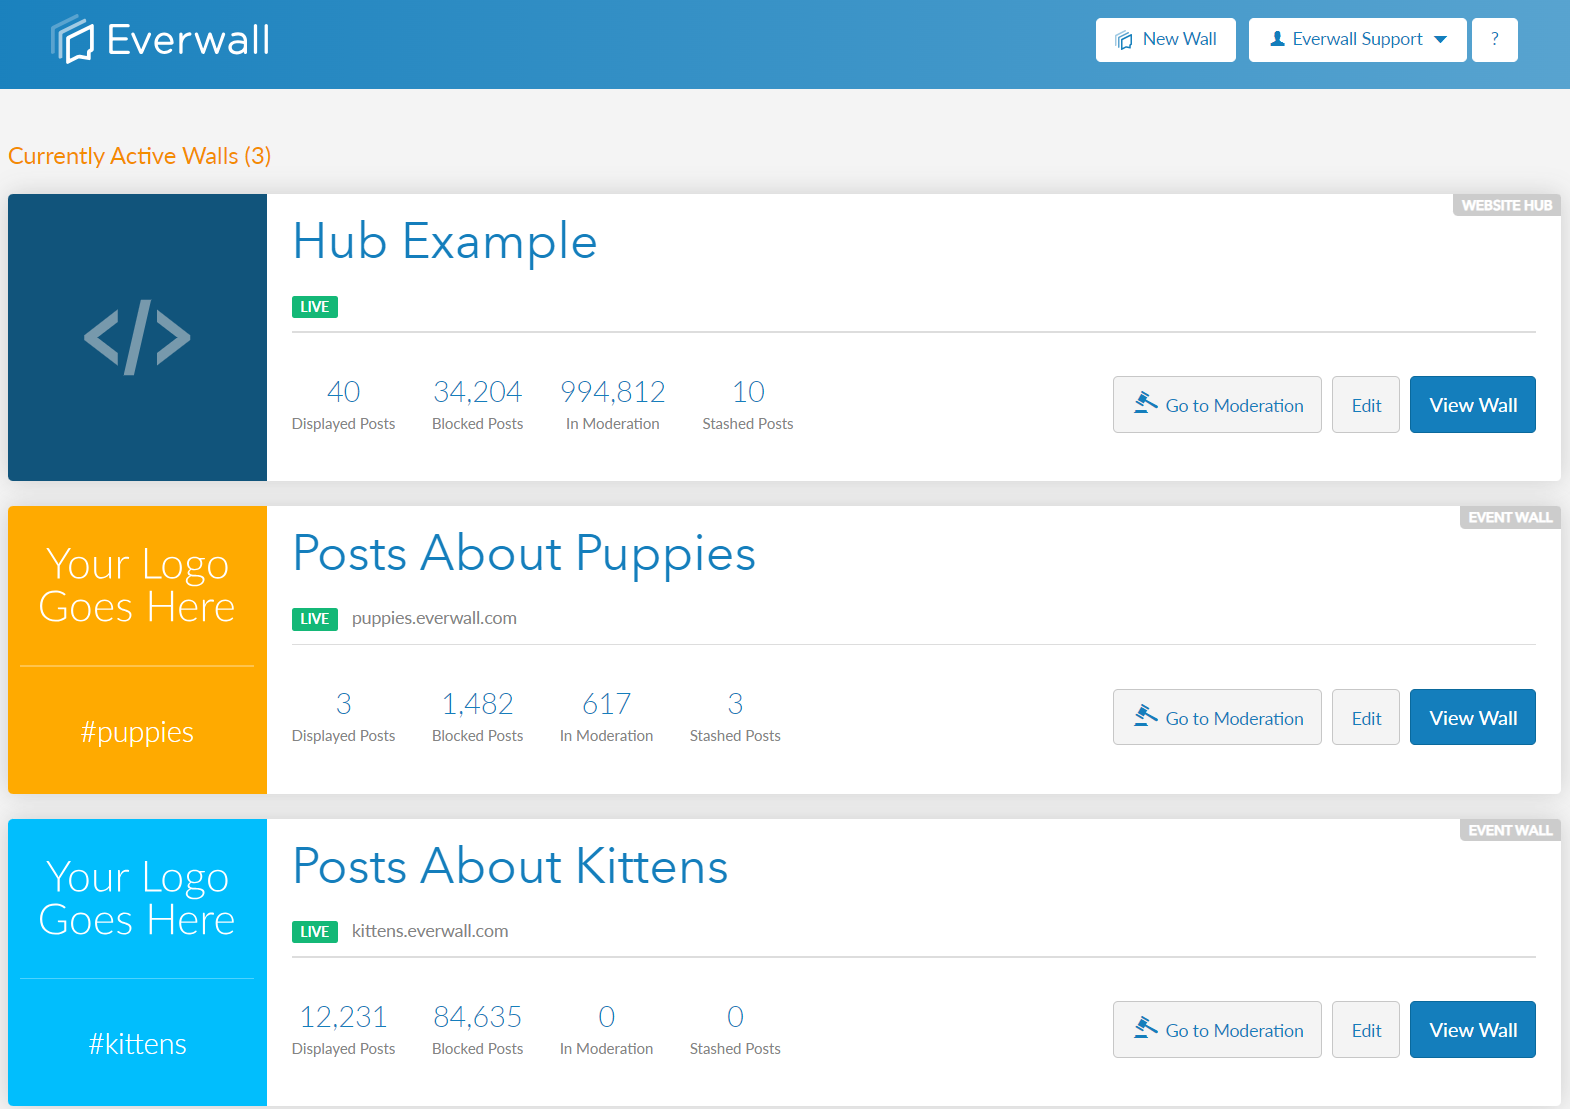
Step 1: Log in to your Everwall account and choose the Social Wall where you want to use the custom leaderboard. If you only have one Social Wall in your Everwall account, you’ll be put straight into that Overview page and won’t have the option to select one and will already be on the Overview page.
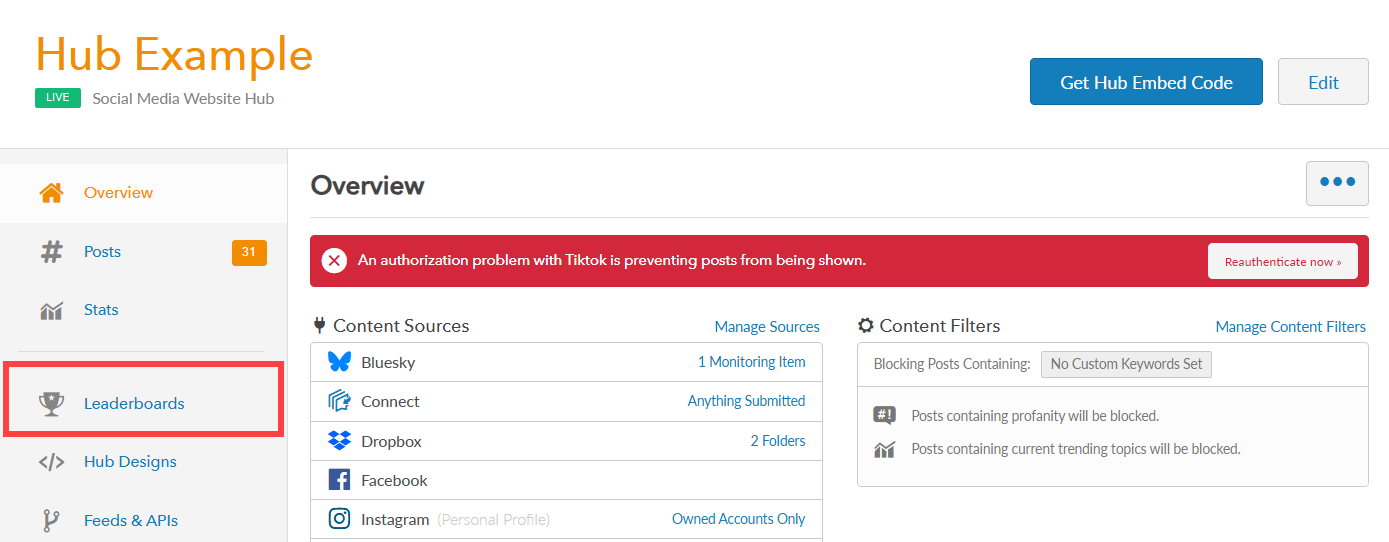
Step 2: In the overview page, click the Leaderboards link on the left side menu.
Step 3: In the leaderboard settings page, click the Custom tab to view the current custom leaderboard.

Step 4: Adding an entry can be done two different ways. You can click on the Add Leaderboard User button to add users to the leaderboard one-by-one, or you can click the More Button (three dots) and click the Import Custom Leaderboard to upload a CSV file with the entries.
The rest of this tutorial will show you how to do it manually one-by one, since the CSV method provides full instructions and an example file to get you started if you go that route.

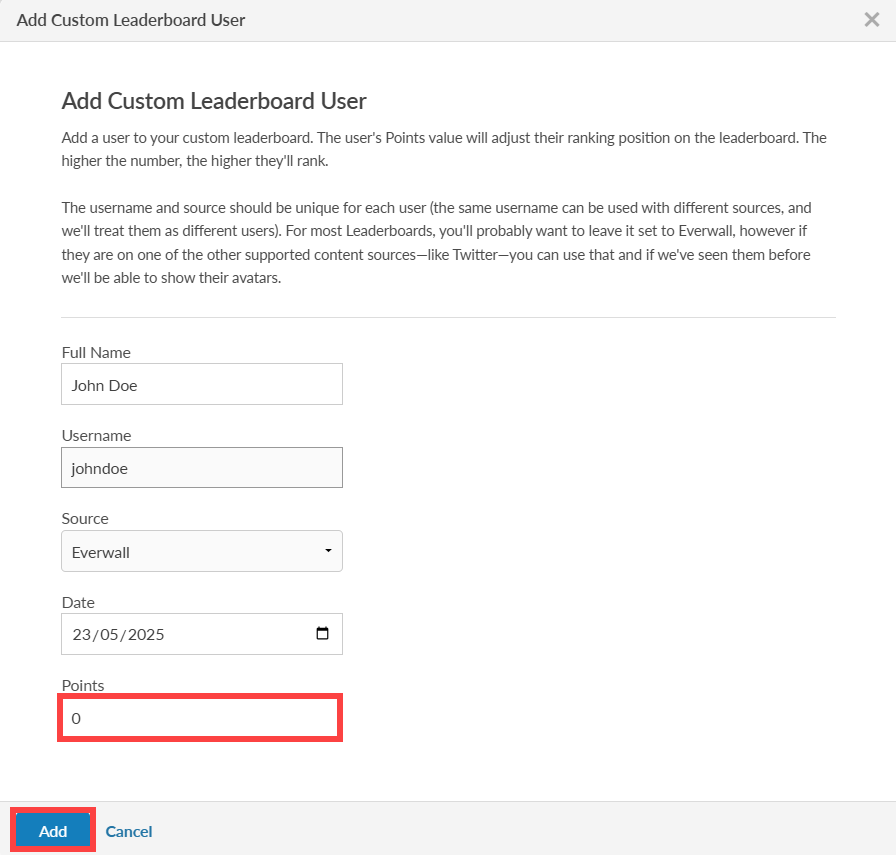
Step 5: Enter the Full Name of the user.
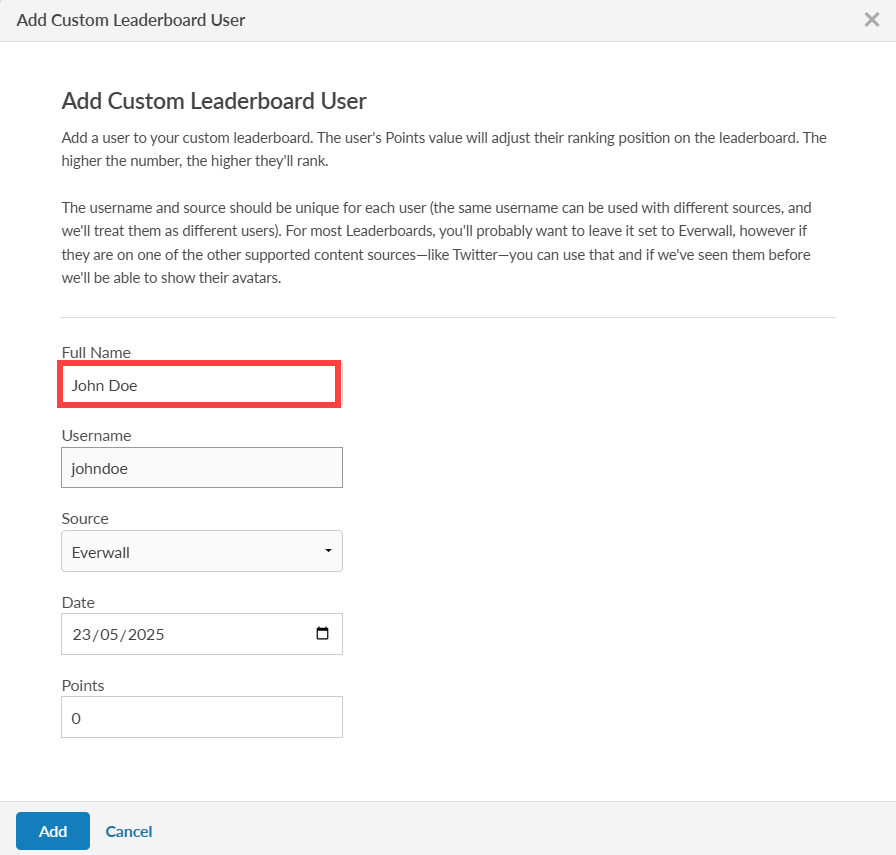
Step 6: Enter the username. Each user must have a unique combination of username and source. If the same username is used with different sources, we will consider them as different users.

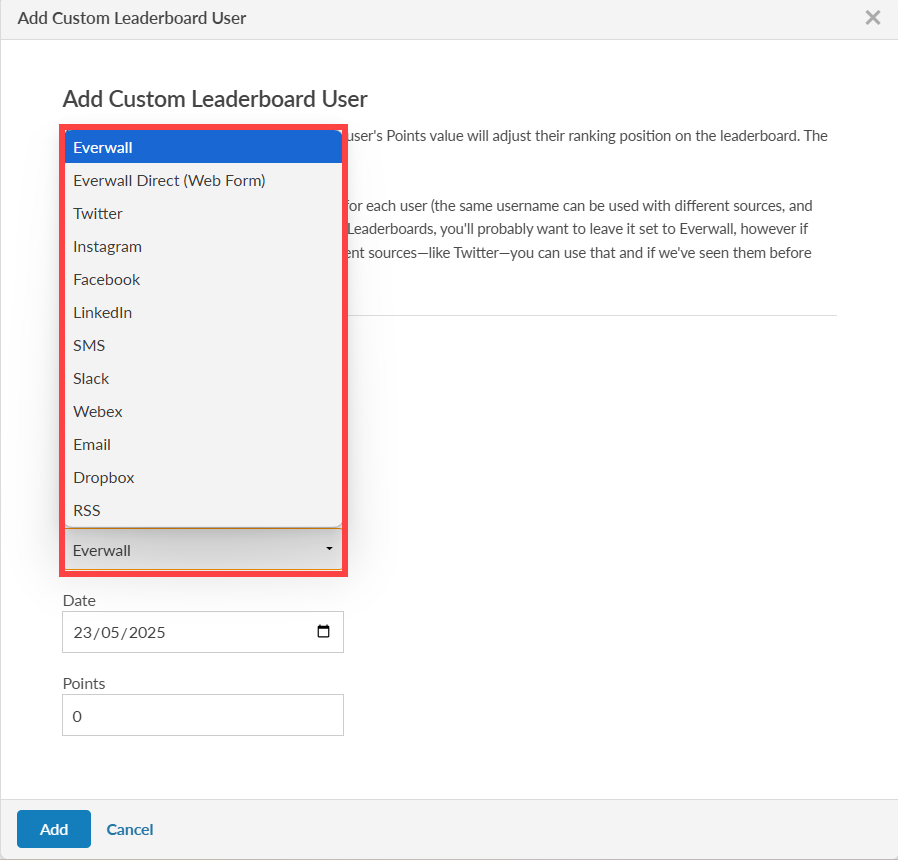
Step 7: Select the source from the options. For most Leaderboards, it’s recommended to keep it configured for Everwall. However, if your users are using one of the other supported content sources, such as Twitter, you have the option to use that source. If we’ve previously encountered these users, we’ll be able to display their avatars.
Step 8: Enter the date you want to record for the leaderboard entry.
Note: When showing leaderboards, they can be for the entire event, an individual date, or weekly (weekly is only available if this is for an ongoing social wall (digital signage) or a social media hub for your website). We use the date to know where to apply your leaderboard entry and will automatically calculate the Points value for the same user across multiple days. If your event is showing the leaderboard for all time, we recommend always using the same date—like the first day of your event, for example—just to make things simpler for you to track.

Step 9: Enter the user points you want to set. The user’s ranking on the leaderboard will change based on their Points value. A higher Points value will result in a higher ranking position. Click the Add button to add the user.
Note: If the user has entries on two different days, and you’ve set the leaderboard to be for the “entire event”, then we’ll automatically add the day’s Points values together to come up with the total value. If the leaderboard is set to “Reset Daily”, and the entry is added for the current day, then only that daily entry would be shown on the leaderboard.
Note: The name “Points” is customizable. For example, for your event you may want to call them Votes, or if you’re a non-profit doing fundraising, it might be Dollars. To make this change, just contact us and tell us that you want to change the custom leaderboard value name. In the future you’ll be able to edit this on your own.
Final note: Given the number of ways and the complexities of using the Custom Leaderboard, we highly recommend testing it out extensively before your event so you understand how it all works. If you need help with anything, we’re always here to help and offer advice, too.
Still have questions? Get in touch.