How to Add Users to the Always Allowed User List
With Everwall, you can allow specific individuals or accounts to post content and have it bypass the filter and moderation settings—the post will automatically display on the social wall. Adding users to always allowed user list does not eliminate the need for content moderation, but it can significantly reduce the volume of content that requires active moderation. Since you’ve approved the users in advance, their content will flow freely onto your social wall.
There are two ways to add users to always allowed user list from your social wall
- You can add users to always allow user list while setting up your content sources.
- You can add them to the always allowed list by clicking the link at the bottom of every post when viewing them in your dashboard.
This tutorial will show you how to add users to always allow user list from your social wall.
Adding User to Always Allowed User List While Setting Up Content Sources
When setting up a content source a window will appear to specify the source settings. You will have an option to add a user to the Always Allowed User List and specify the username you want to add in the list.
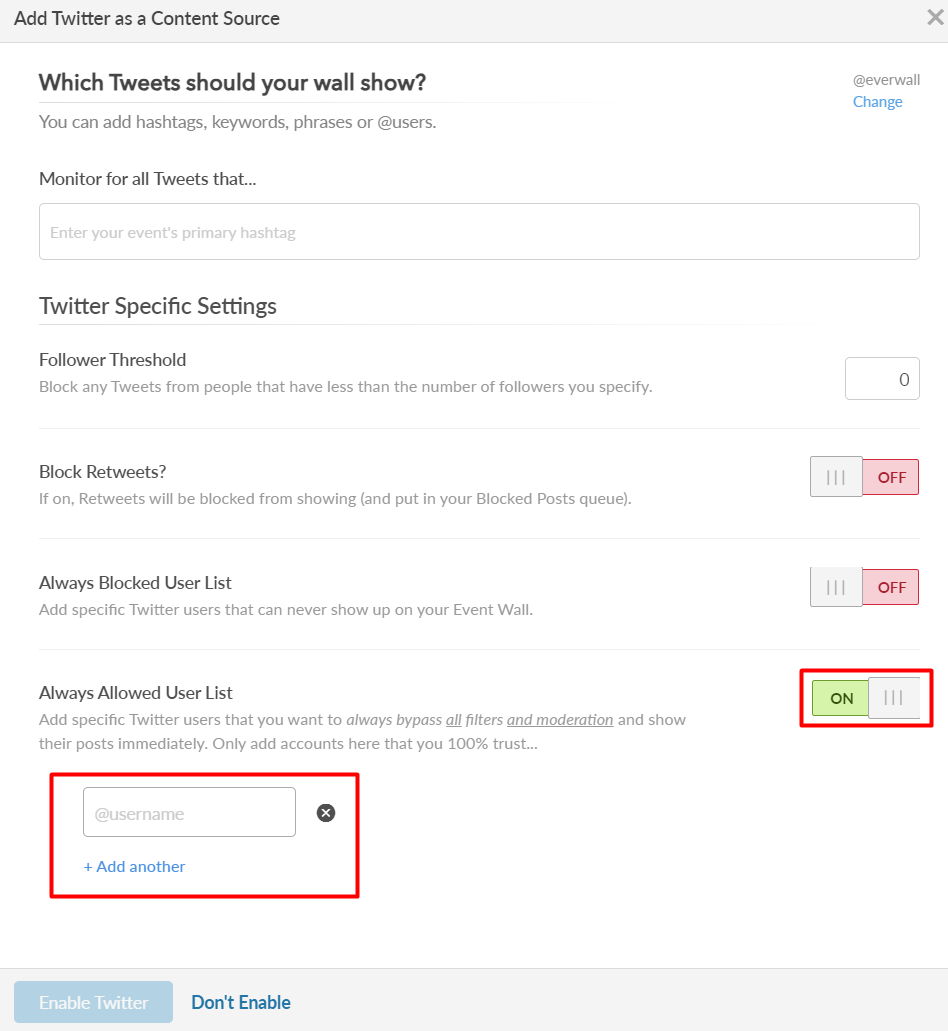
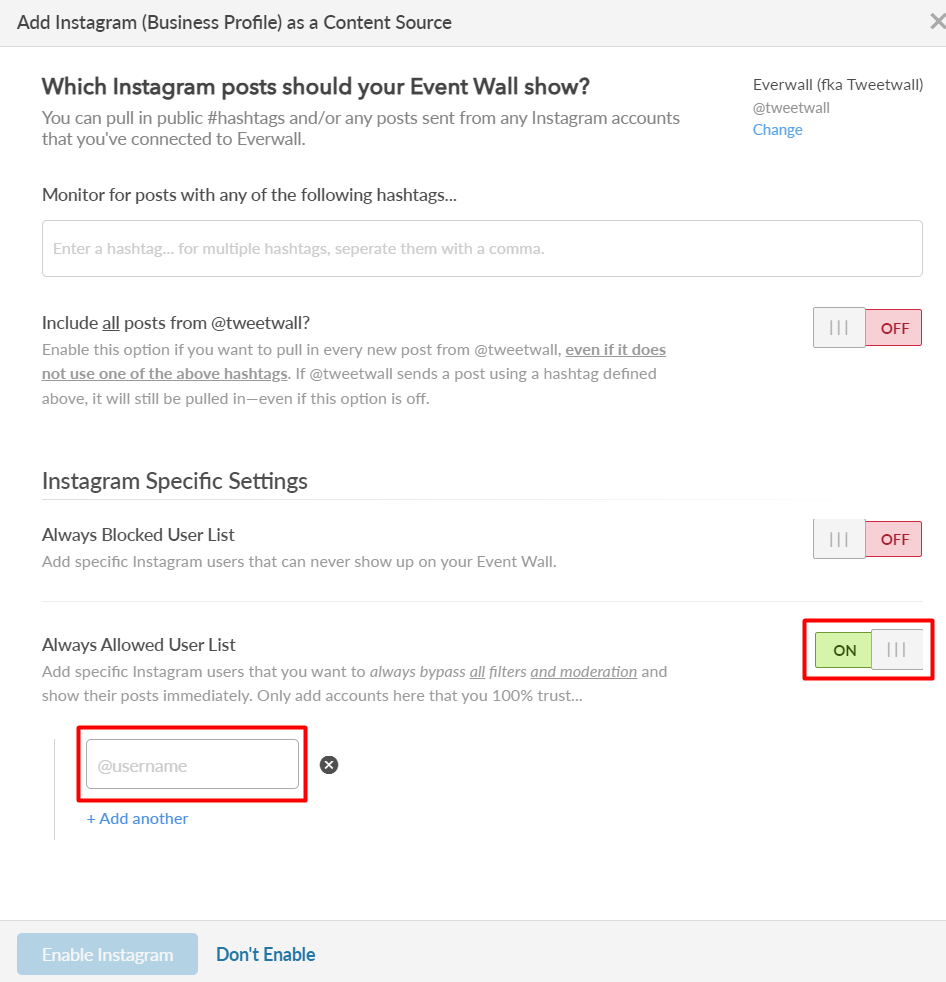
As you can see below, Instagram also has this option (as do most other content sources).
Adding Users to the Always Allowed User List While Managing Content
Step 1: Click the Posts link in the left menu to access the different content queues.
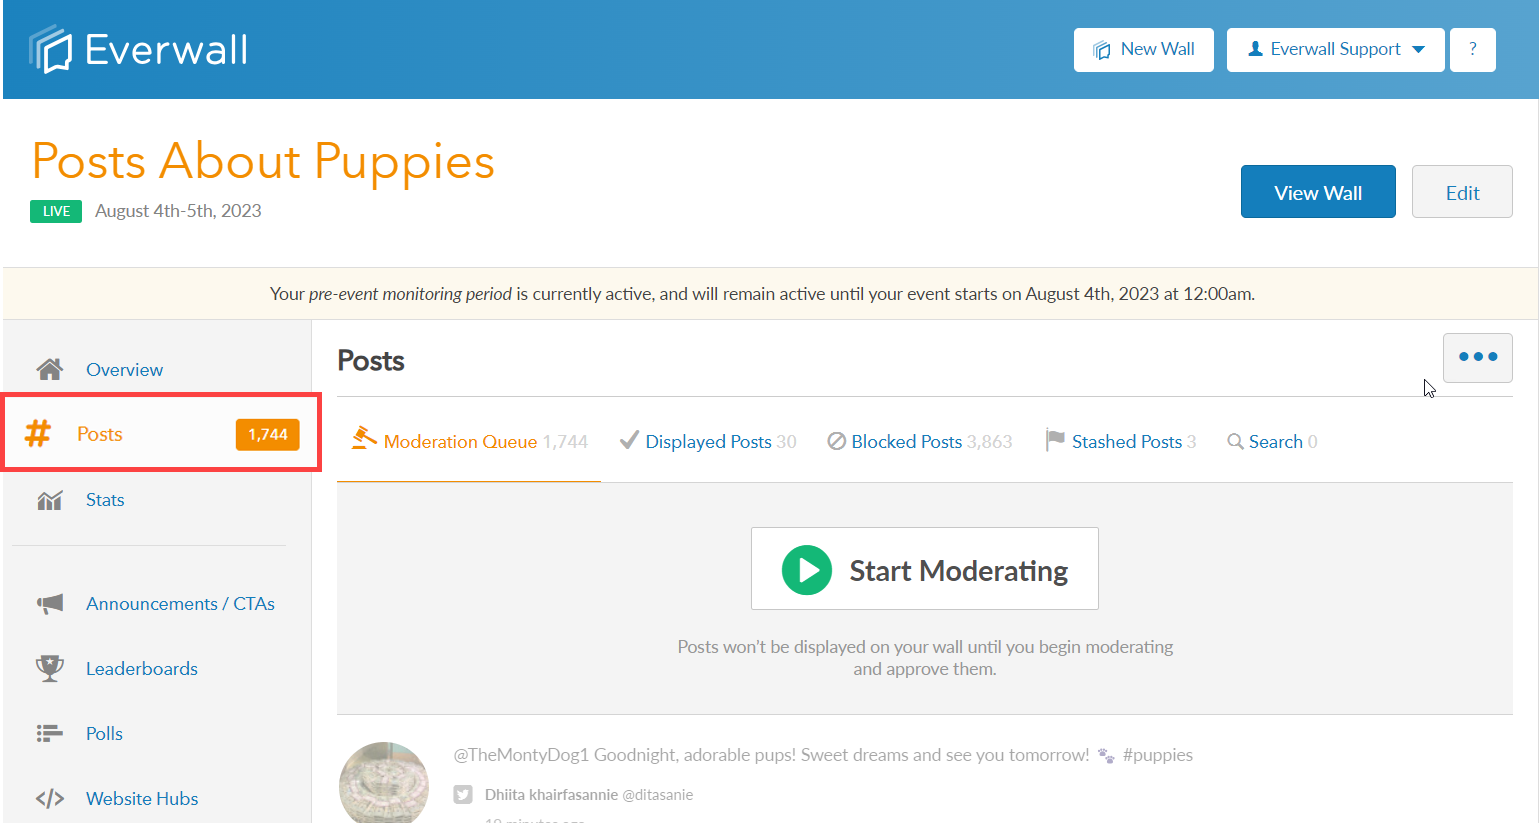
Step 2: You will be redirected to the Post page where you can see the different queues. Select which queue you want to access.
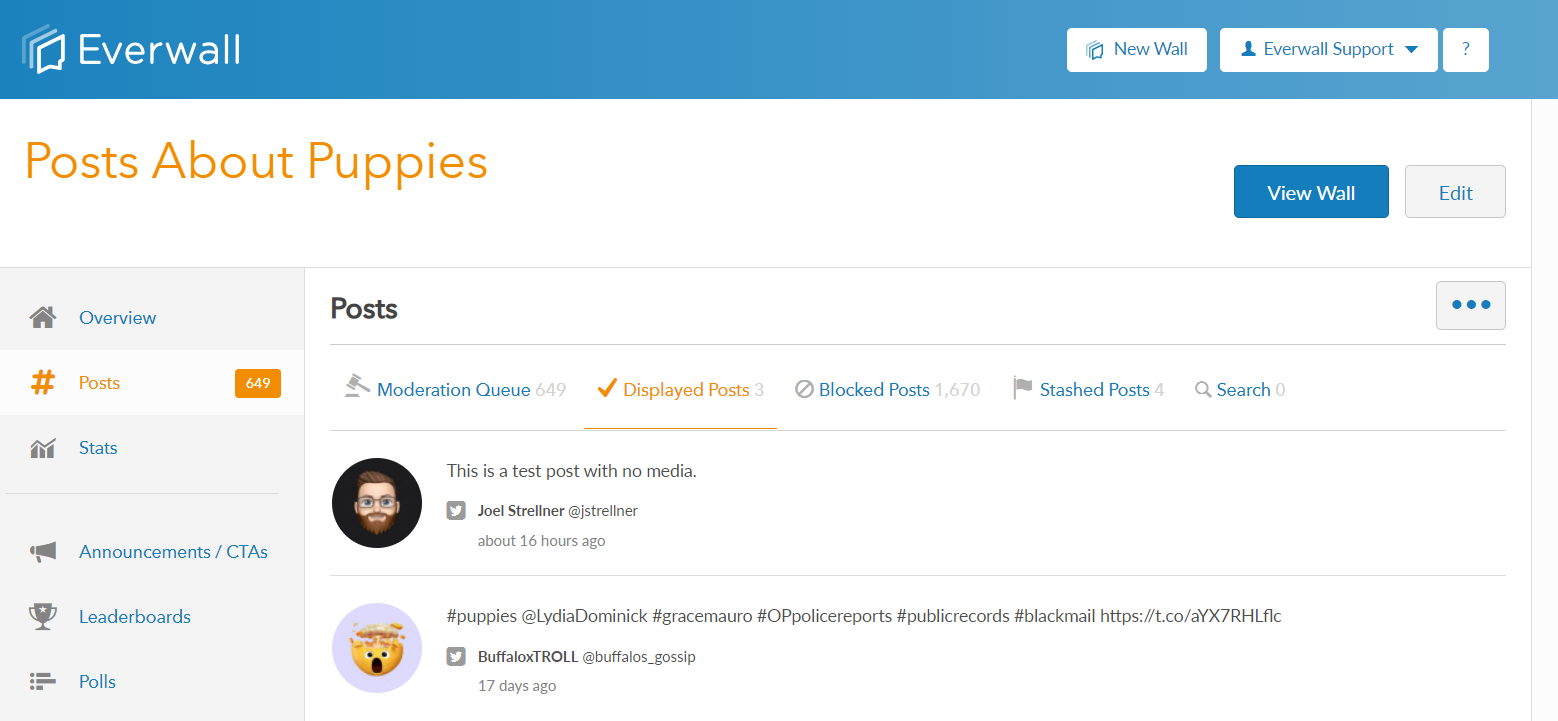
Step 3: Hover the over the post of the user you want to always allow with your mouse, then click the Add to Allowed User List to add the user.
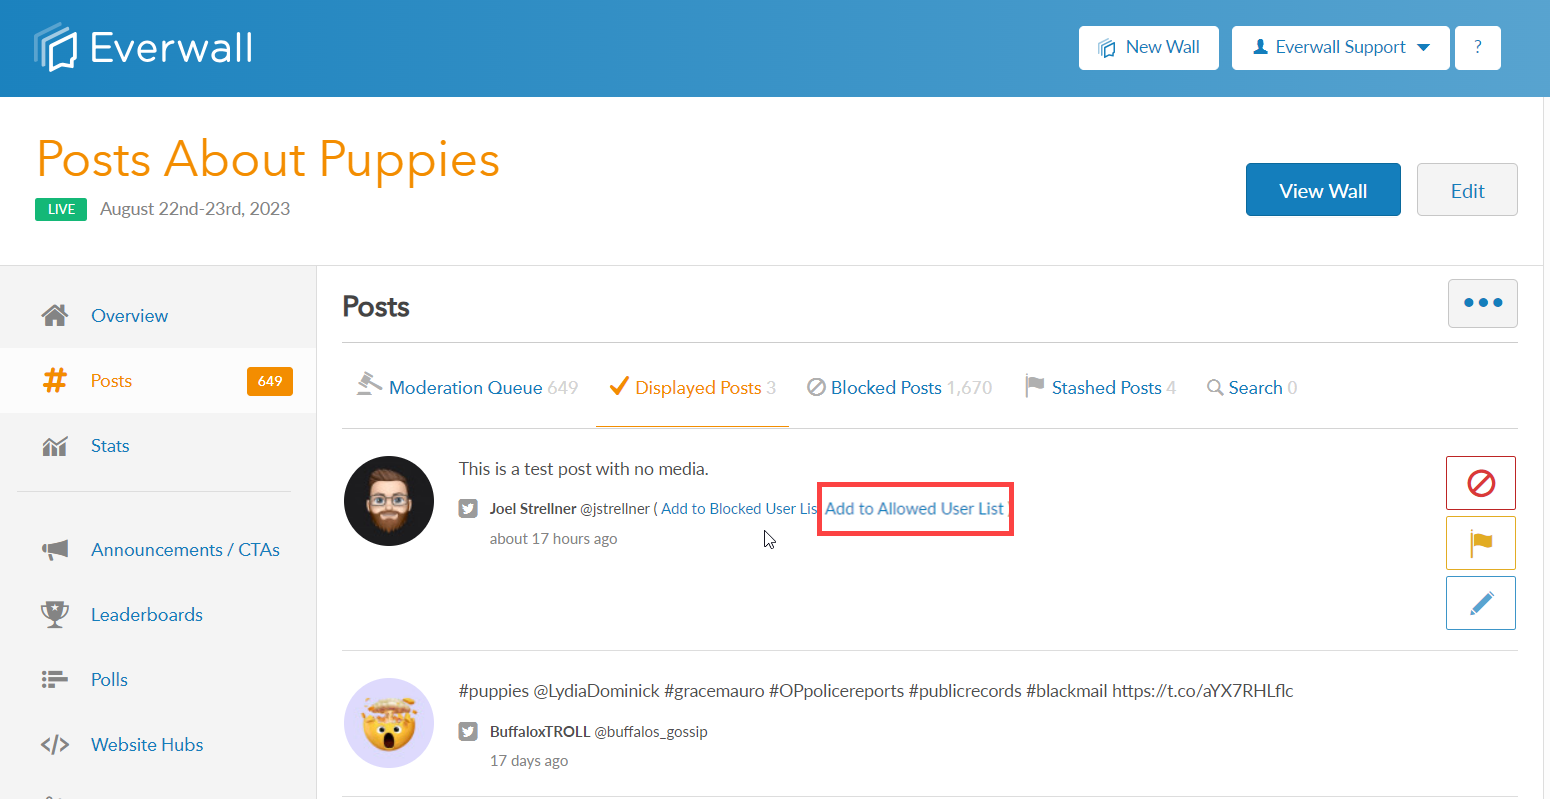
Step 4: A window will pop up to confirm if you want to proceed to always allow all posts from the specific user. Click Yes to proceed, otherwise click No.
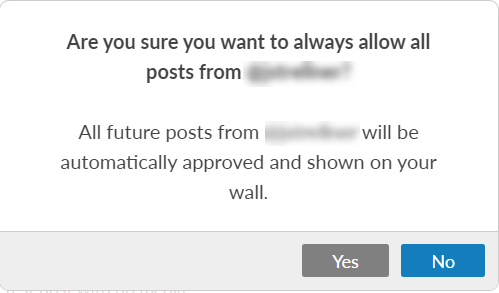
Step 5: If you’ve said yes to the previous prompt, we’ll automatically go through and approve all posts that are pending in the moderation queue so that they are displayed on your social wall. All future posts from this user will automatically be approved.
Note: If you need to remove a user from the Always Allowed list, you’ll need to go into the content source and remove them. Please follow the steps outlined above in the Adding User to Always Allowed User List While Setting Up Content Sources section for how to navigate there. Once there, just click on the X next to their name to remove them, and then save the settings.
Still have questions? Get in touch.