How to Filter Posts with Tags on Social Media Hubs/Embeds
Everwall offers three products: Event Social Walls, Ongoing Social Walls, and Social Media Hubs. The names for embedding it onto a website can vary based on how you use them. If you’re embedding a Social Wall or Ongoing Wall on a website, it’s called a Website Embed (a free feature). If you’re using it solely on a website, it’s called a Social Media Hub. While the terms might seem confusing, they mean the same thing and are used interchangeably.
For all of the instructions below, we’ll use the Website Embed product naming, since our examples are attached to an Event Social Wall instead of being purchased standalone (which would make it a Social Media Hub).
By default, all Website Embeds in Everwall display the same posts, showing everything in the “Displayed” queue. This means any post approved for display will appear across all your embeds without filtering.
If you want specific embeds to show only a subset of posts, you can use tags to filter the content. For example, you might tag certain posts for one embed and different posts for another, ensuring each embed displays tailored content that matches its intended purpose or audience. From there, you can selectively display tagged posts across different designs, giving you precise control over content presentation without needing separate configurations for each layout.
Moreover, you can create multiple Website embeds, each with its own unique set of filters and tags. This flexibility allows you to use a single social wall configuration to cater to various use cases, such as embedding curated content for specific pages or events.
How to Filter by Tags on Social Media Hubs/Embeds
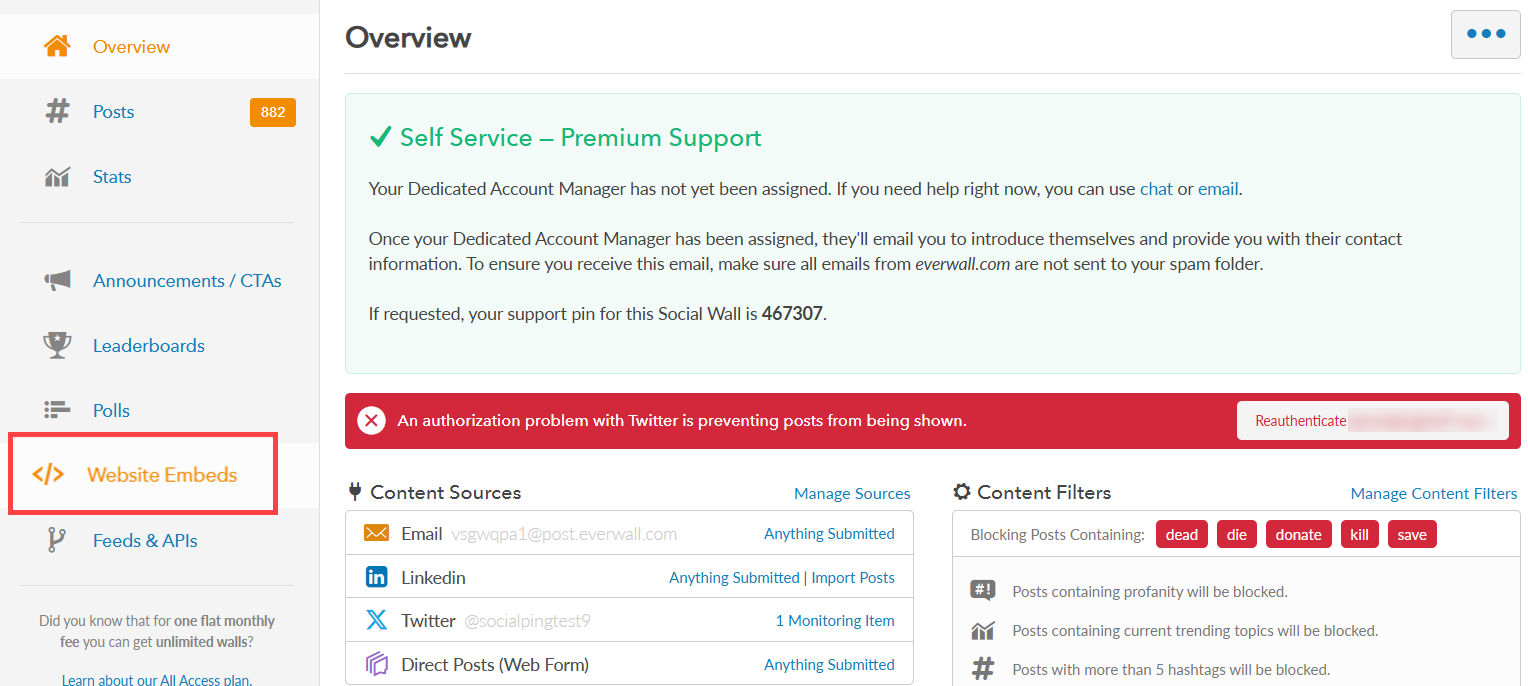
Step 1: On the left side menu of the Dashboard, click the Website Embeds to view your embeds. If you created a Social Media Hub, it’ll say Hub Designs instead.
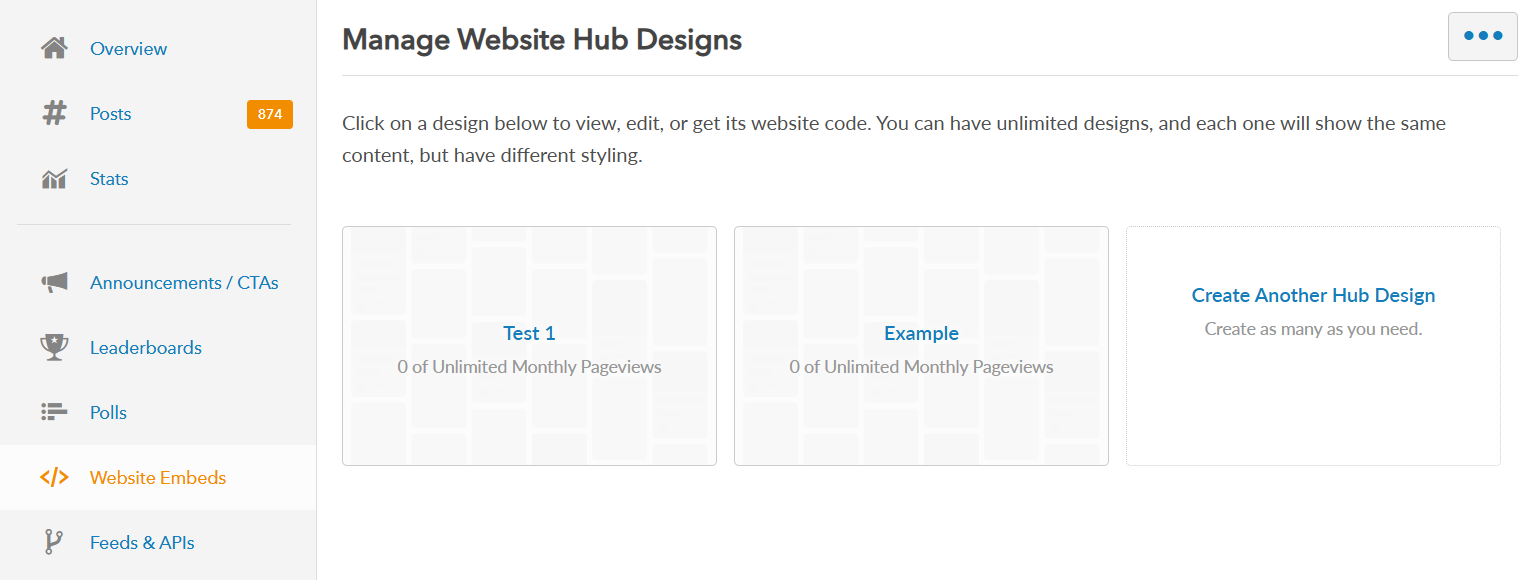
Step 2: In the Manage Website Hub Designs page, select the specific design you want to modify or you can create a new hub design. You can create as many designs as you need, and each one can have different design and filtering options.
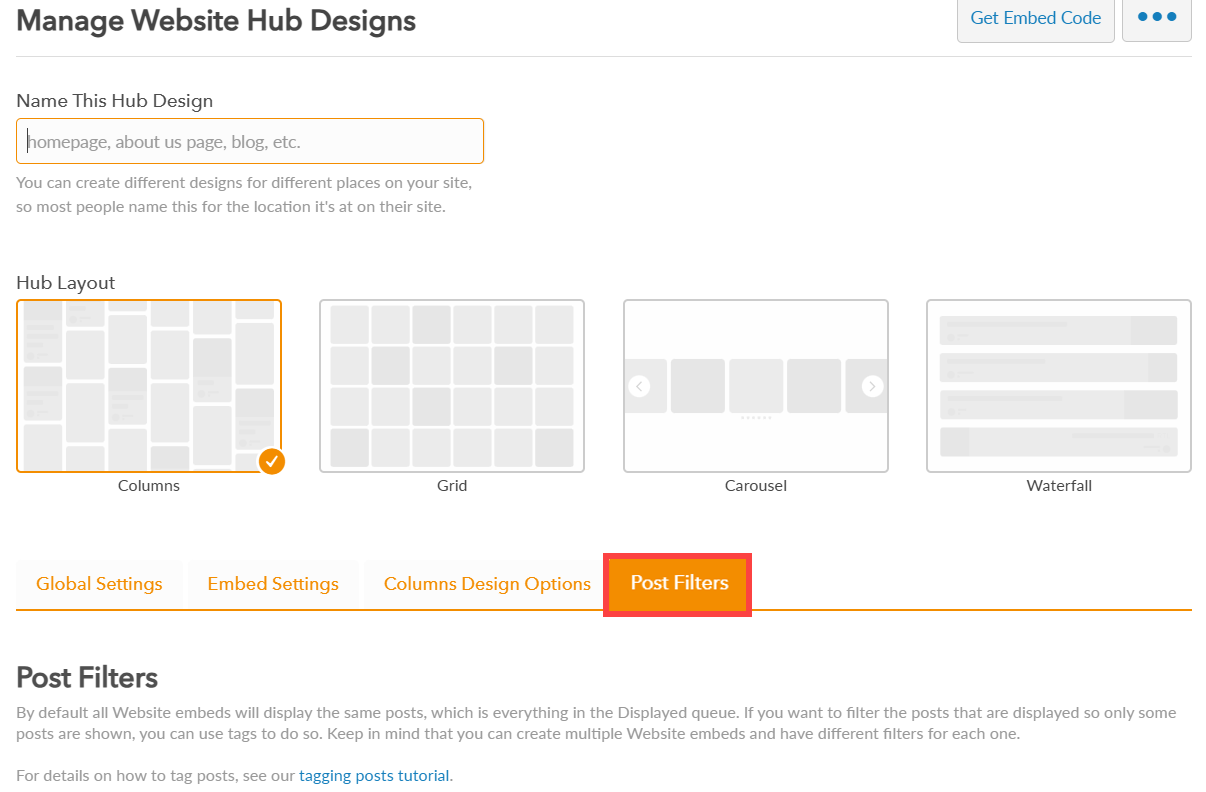
Step 3: If you want to create a new Hub design, choose the Hub Layout you want to use for your website, then go through all the design steps to eventually end up on the Post Filters tab to view the filtering options.
Step 4: Switch the Filter Posts toggle to “Yes” to enable post filtering for this Website embed. If set to “No,” all posts from the Displayed queue will be shown. By default, this setting is “No.”
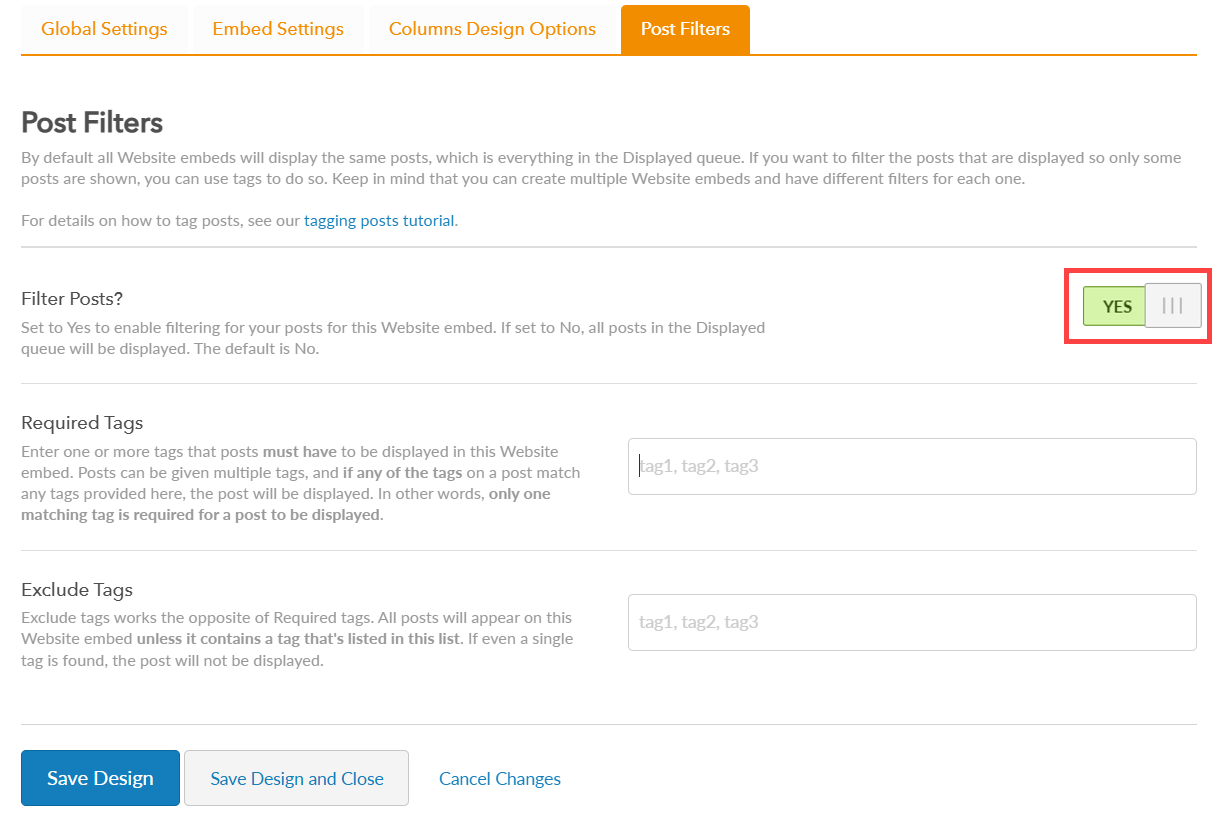
Step 5: Enter one or more tags in the Required Tags section that posts must have to be displayed in this Website embed. A post can have multiple tags, and if any of its tags match the ones you provide here, the post will be shown. In other words, only one matching tag is necessary for a post to be included.
Note: You can leave this field empty, but you must have at least one tag in the Exclude Tags section if you do.
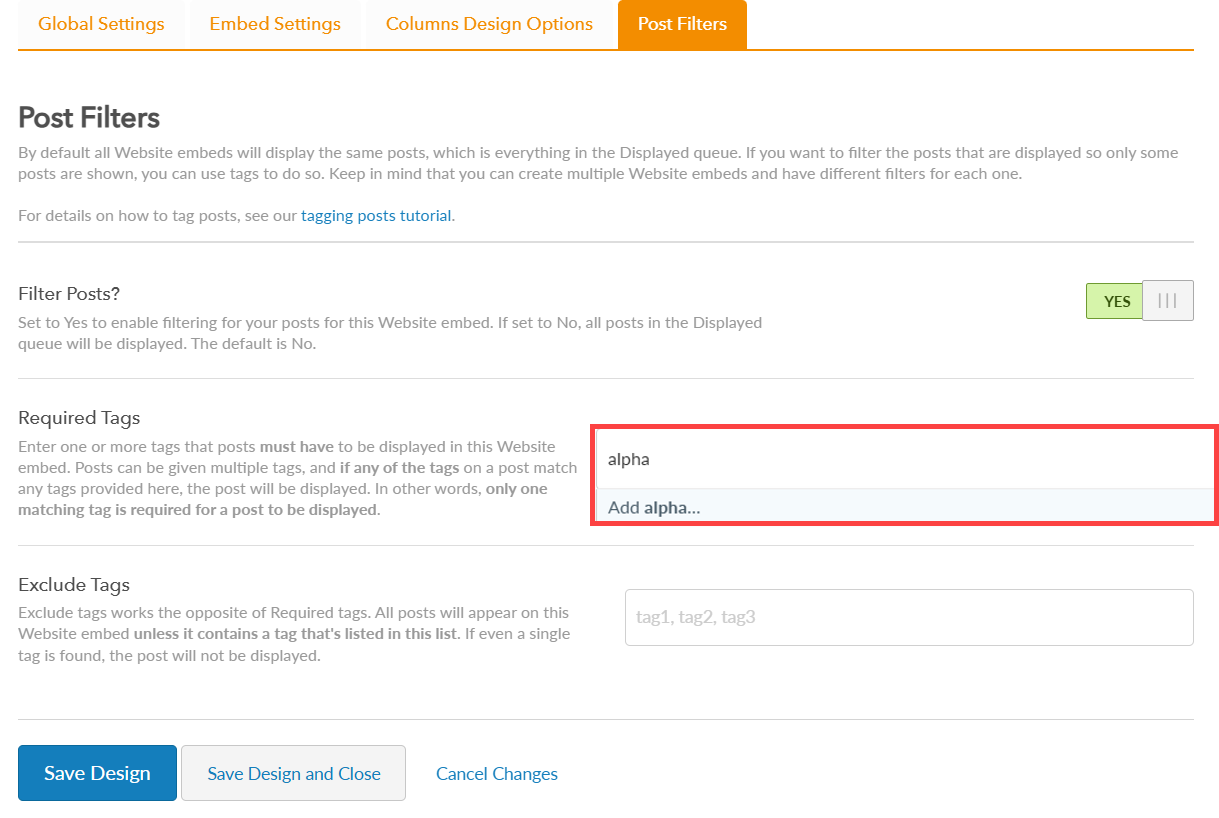
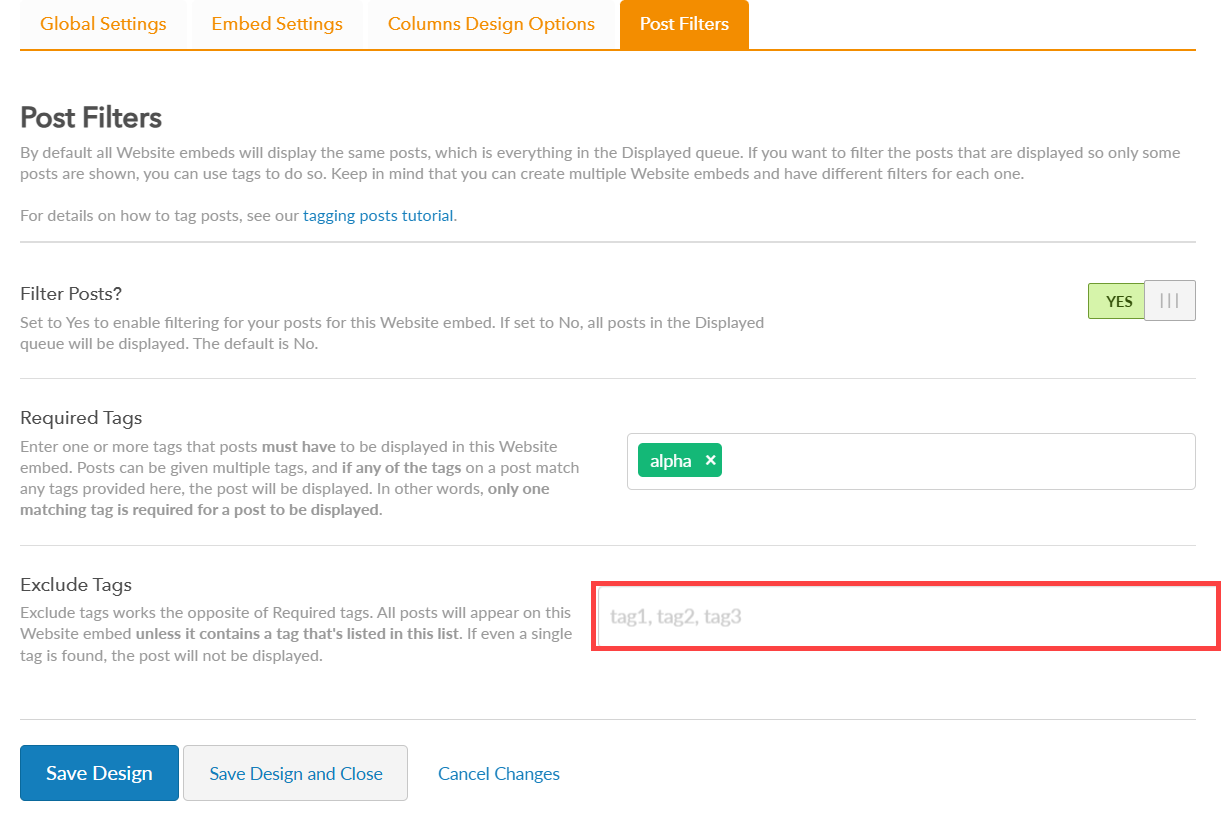
Step 6: The Exclude Tags feature works opposite to Required Tags. All posts will be displayed in this Website embed unless they contain a tag listed in the exclusion list. If even one excluded tag is present, the post will not be shown.
Note: You can leave this field empty, but you must have at least one tag in the Required Tags section if you do.
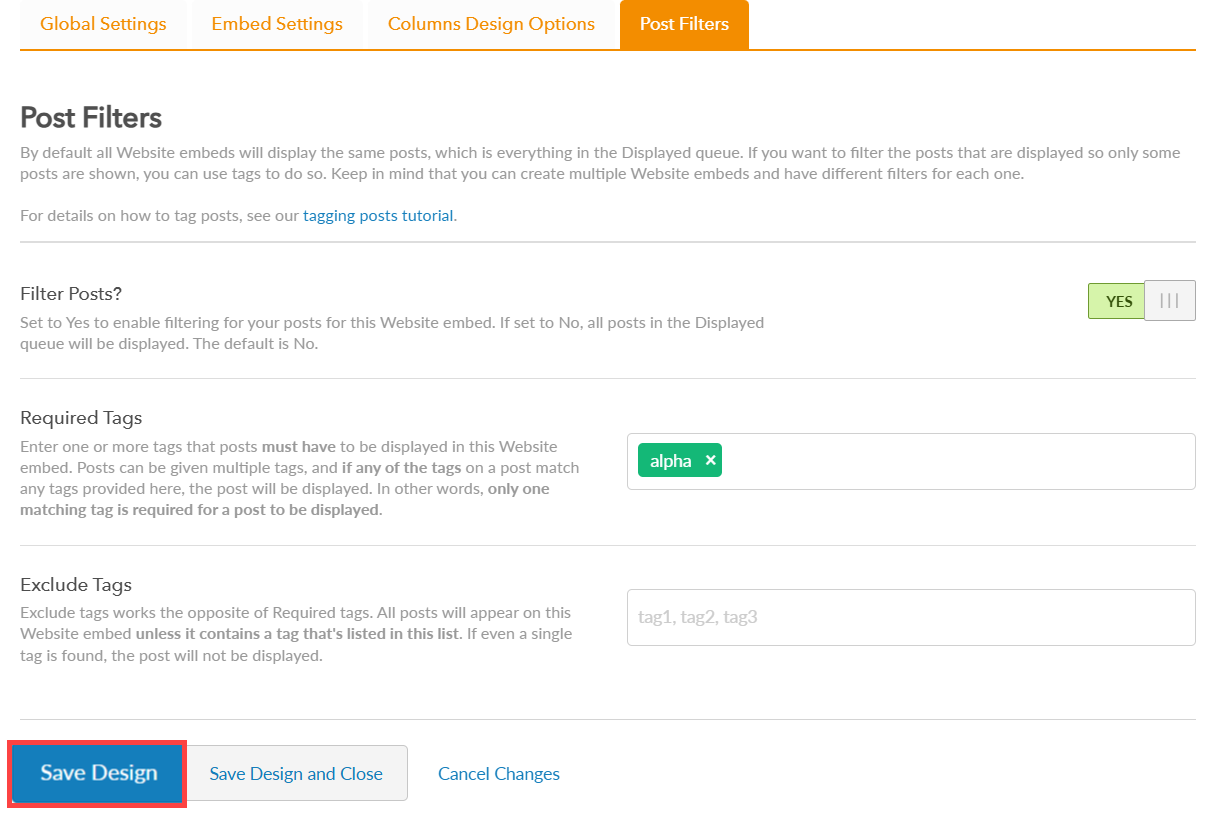
Step 7: After modifying the post filter options, click Save Design.
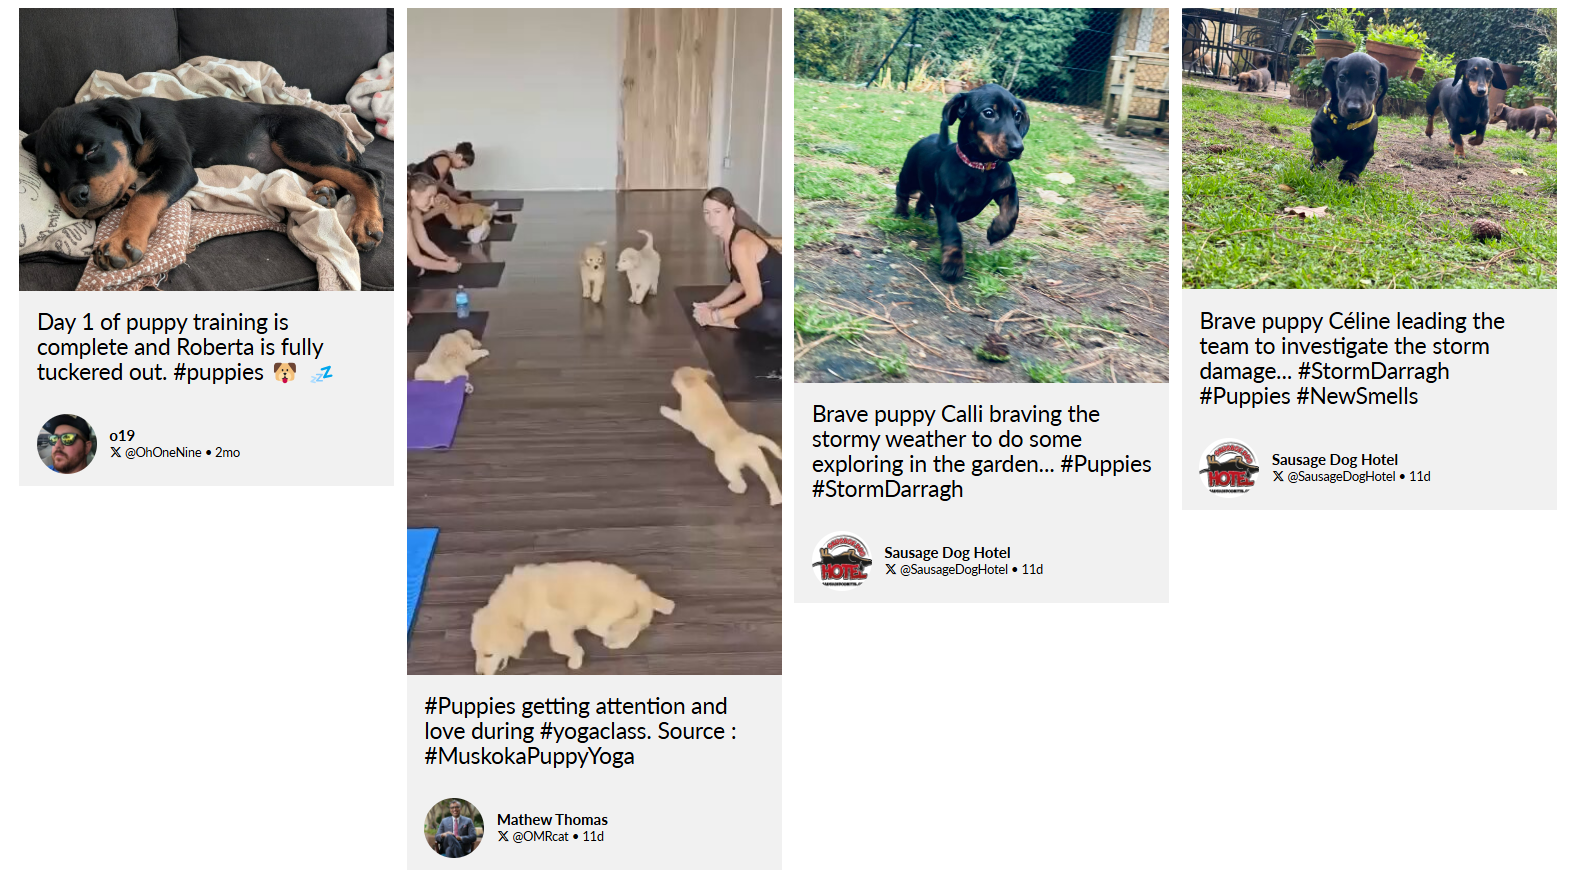
Step 8: After saving, only a subset of posts with specific tags you entered in the required tags will be displayed. If you left the Required Tags section blank, but added a tag to the Excluded tags, then all posts will be shown, except for the posts that have one of the tags you put into the Exclude Tags section.
Still have questions? Get in touch.